Peas

snow-peas

Our Varieties:

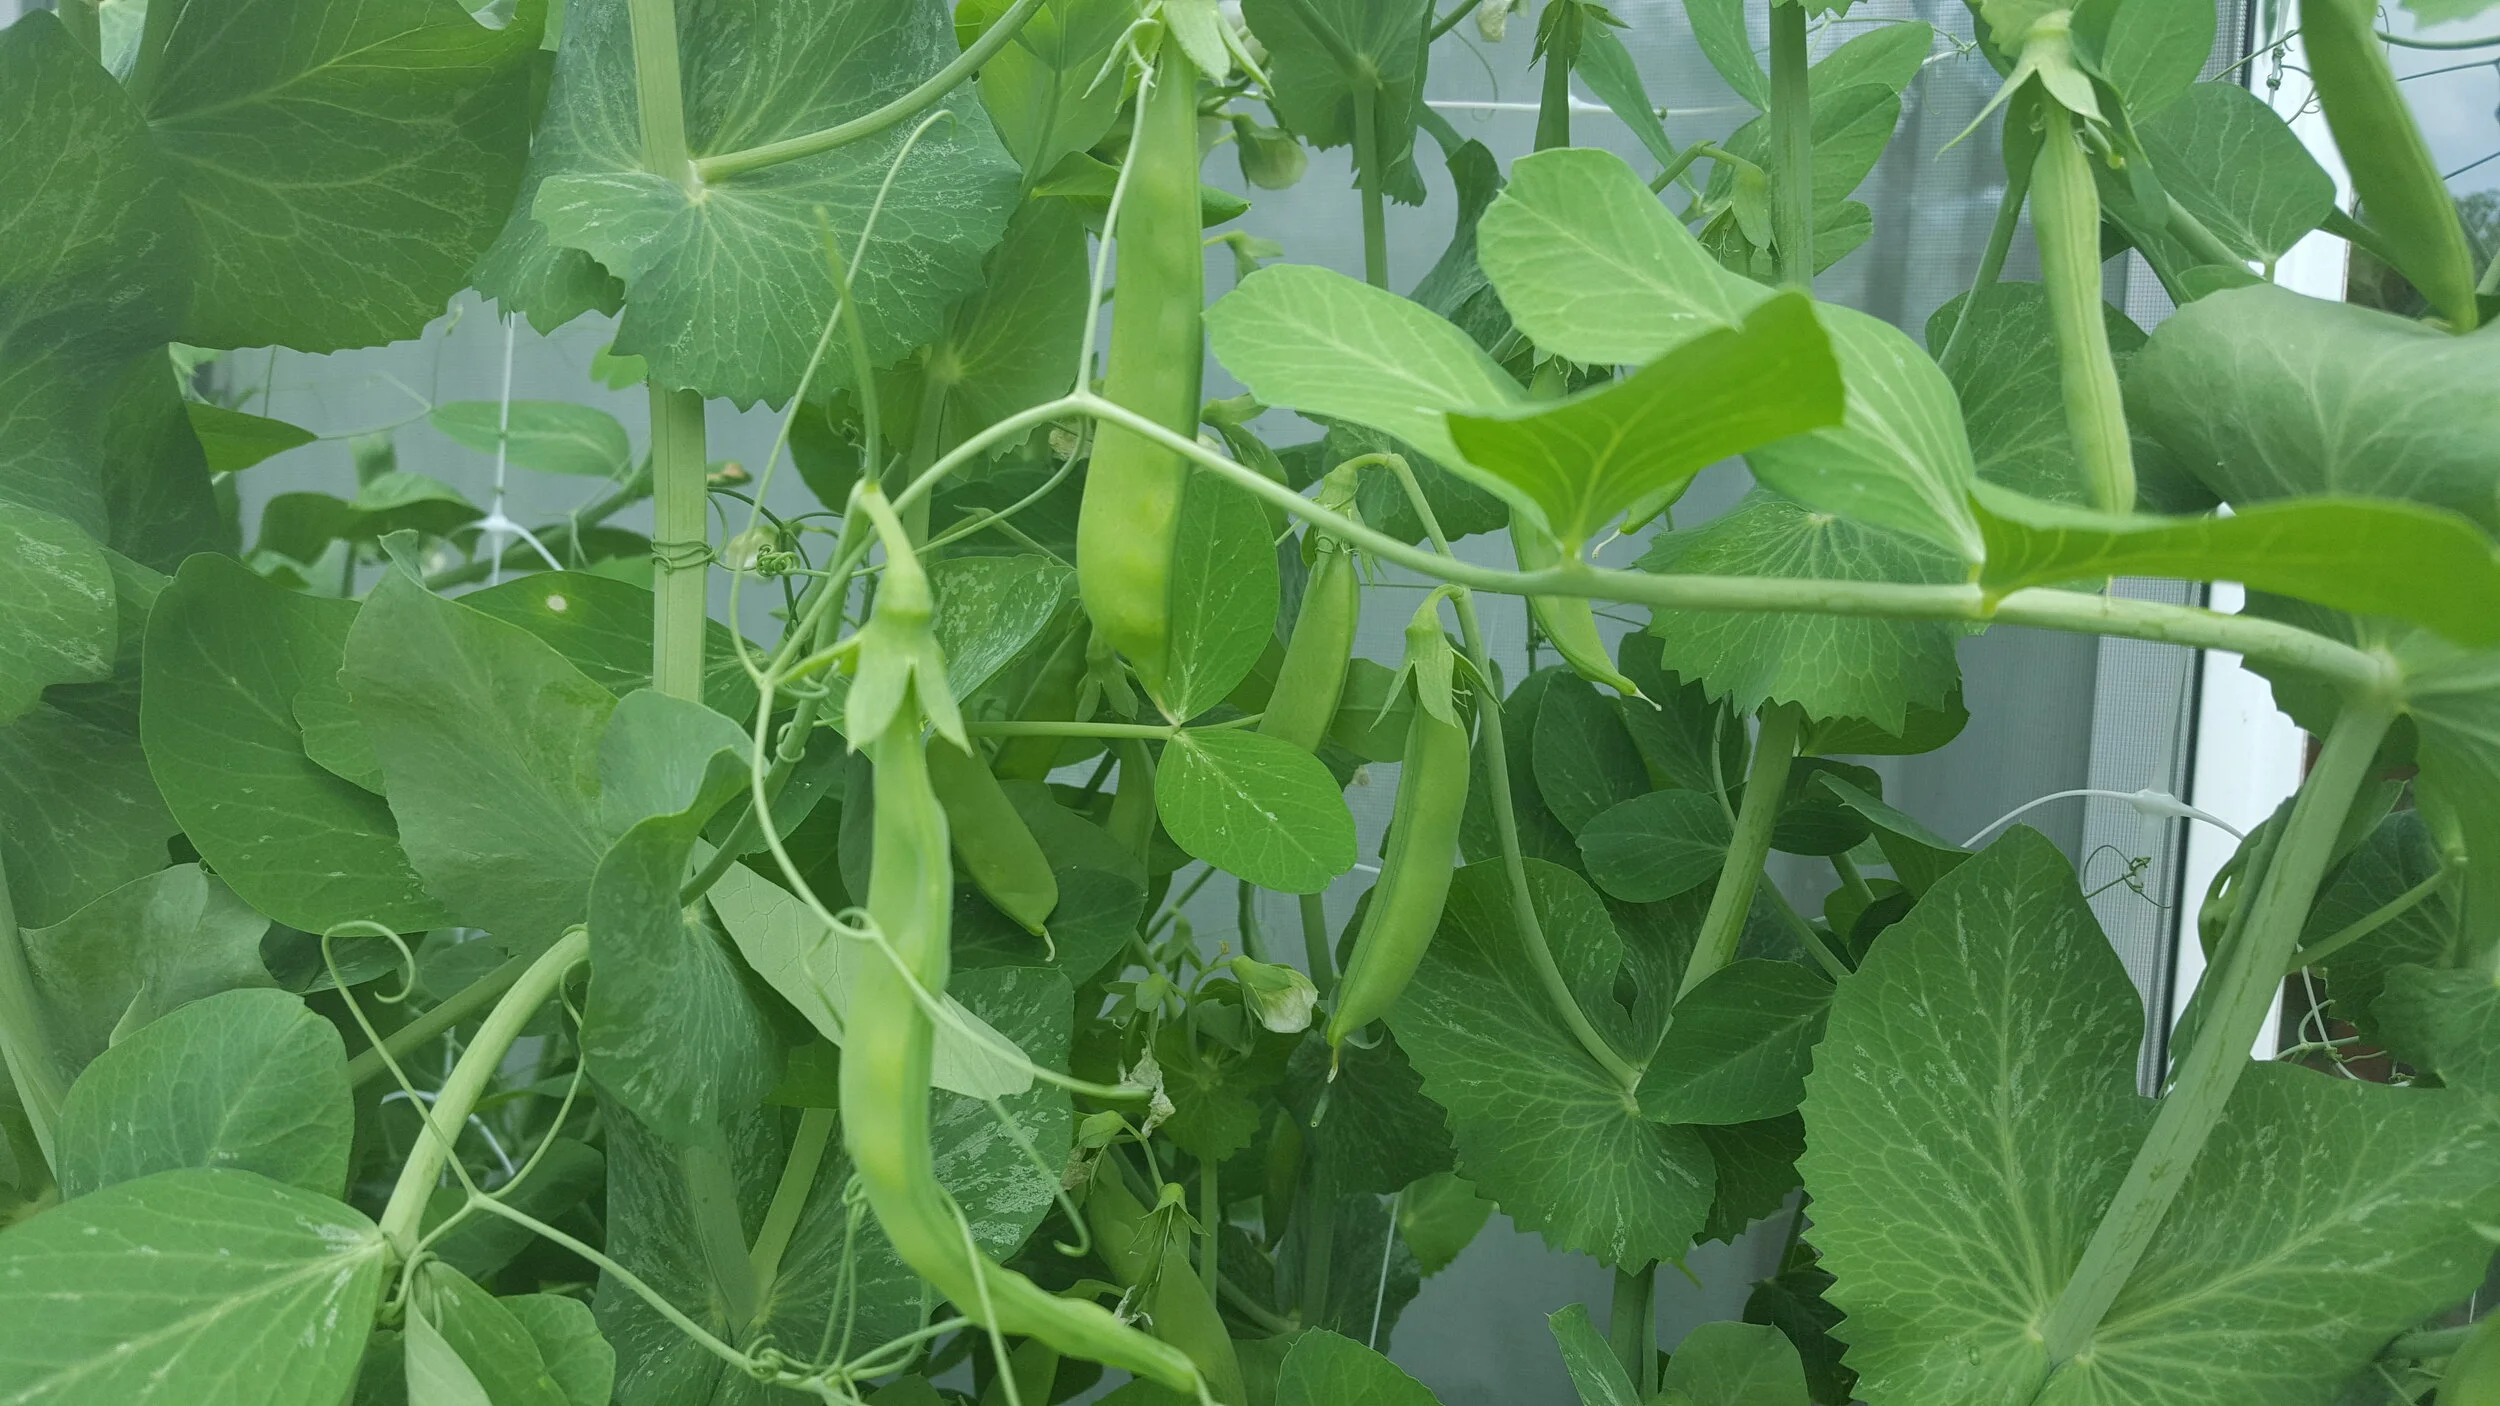
Peas can fall into 3 categories: snow, english, and snap. Snow peas are eaten whole and grown primarily for their sweet-flavored pod - they should be picked before the peas inside plump up. English peas have tough, inedible pods and are grown for the peas inside. Peas should be round and plump. Snap peas, or sugar snap peas, are a mix of the two. While the pods are sweet and edible, the peas inside are also able to plump up and be eaten on their own.

Harvest:

  • Harvest peas between 2-4 inches. If you know what variety you have (Snow, snap, or english) - pick snow peas while still flat and tender, pick snap and english peas once the seeds have plumped up.

  • Hold vine in place with one hand and pinch and pull peas off the vine with the other to minimize damage to the vine. Alternatively, use a knife, scissors, or shears.

  • Harvest often to encourage more production.

End of the harvest:

Peas will produce fruit all Spring but are sensitive to the heat. They will slow production and eventually decline in Summer.

Storage and handling:

  • Store peas for up to a week unwashed and unshelled in the fridge.

  • With English or Snap peas, you can shell them and freeze the peas for up to 6 months.

Recipe ideas:

  • Peas are versatile! Cook on their own as a side dish, pair with grains or mashed potatoes, make a pea soup, or even pea pesto!

  • Find some inspiration here.

Peppers

Our Varieties:

Peppers often go through a series of color changes. Traditionally, they will turn from green to yellow to orange to red. Some of our other varieties will also turn purple, white, or may have stripes.

“Lunch box” peppers or Italian “Frying peppers” are also sweet, but don’t have the classic bell pepper shape. Lunch box peppers are cone shaped and bite size. Frying peppers are long and skinny; they often look a lot like hot peppers.

Hot peppers can vary widely in appearance so knowing which variety you have is key. Jalepenos and Fish Peppers are common in our gardens.

Red Knight - A classic crisp and sweet red bell pepper

Red Knight - A classic crisp and sweet red bell pepper

Gourmet - A sweet orange bell pepper

Gourmet - A sweet orange bell pepper

Islander - A colorful variety that cycles through purple, yellow, orange, and finally deep red stages

Islander - A colorful variety that cycles through purple, yellow, orange, and finally deep red stages

Fish Peppers turn from green to white to red and often have stripes!

Fish Peppers turn from green to white to red and often have stripes!

Harvest:

  • Most peppers can be picked during any stage of ripening but the flavor will change with maturity. With each change in color, sweet peppers get sweeter while hot peppers get hotter.

  • Harvest by grabbing the fruit firmly and using a knife, scissors, or shears to cut the stem right above the fruit.

  • The more quickly you pick them, the more they will produce!

End of the harvest:

Pepper plants will produce fruit all Summer. They will begin to slow in production and become more susceptible to disease when the temperature begins to cool. Peppers will not withstand frost, but we usually remove the plants well before then.

Storage and handling:

  • Brush off any soil - do not wash your peppers until you are ready to use.

  • Place peppers loose or in an open plastic bag in the crisper drawer of the fridge. It is important that they stay dry.

  • Peppers will last up to a week in the fridge.  

Recipe ideas:

  • Slice and serve raw along side hummus as a sweet, crispy snack

  • Pair with whole garlic cloves and halved onions, drizzle with olive oil, and roast in the oven or on the grill for a sweet, smoky, and savory side

  • Make stuffed bell peppers for a delicious entree and a beautiful presentation - Cut off top, scoop out seeds, and stuff with grains, veggies, and/or ground meat, then bake.

Potatoes

Our Varieties:

IMG_0730.JPG

Potatoes come in many sizes, shapes, colors, and starch contents. You may find long and skinny fingerlings or perfectly globe-shaped potatoes. Blue, brown, red, and yellow are all common colors.

“Starchy” potatoes like Russets, Idahos, and Yukon golds are great for baking, mashing, and frying while “waxy”potatoes are low in starch and hold their shape better making them best for boiling, roasting, and potato salads.

Harvest:

  • Harvest potatoes once their greens die all the way back. Some sources recommend allowing them to stay in the ground for a week or two more to allow the skins to begin to harden underground. The skins of mature potatoes should not be able to be rubbed off easily. Test one potato before harvesting them all.

  • Dig potatoes out by hand, or carefully with a spade or hand rake. Follow the stem of your potato plant into the soil, digging up to 10 inches deep and two to three feet wide.

End of the harvest:

Once potatoes have been harvested, they will not grow back although it is common to miss a tuber or two that will re-sprout.

Storage and handling:

  • Brush off soil, do not wash until you are ready to use.

  • For long term storage, potatoes must be “cured.” To cure potatoes, lay out to dry in a cool (50-60 degrees F), dark, well-ventilated place for 2-3 weeks.

  • Store potatoes in a dark, cool, and well ventilated place - covered baskets or closed boxes are good options for containers that will provide airflow but stay dark. Recipe ideas:

Recipe Ideas

  • Potatoes are a staple that can be eaten in just about any way. Try baking, boiling, or frying with a pat of butter, a sprinkle of salt and pepper, maybe a dollop of sour cream and a pinch of parsley.

  • For more advanced recipes, try your hand at a potato leek soup, a potato gratin, potato salad, or homemade potato chips! Get some more inspiration here.

Radishes

Our Varieties:

Cherry Belle - A quick growing classic scarlet radish with crisp, white flesh and a peppery spicy flavor. Perfect for snacking or salads!

Cherry Belle - A quick growing classic scarlet radish with crisp, white flesh and a peppery spicy flavor. Perfect for snacking or salads!

French Breakfast - An elongated pink radish with a slightly sweet and less spicy flavor. Perfect for snacking or salads!

French Breakfast - An elongated pink radish with a slightly sweet and less spicy flavor. Perfect for snacking or salads!

Watermelon - A beautiful, multicolored variety with green/white skin and a pink interior. A more mild flavor with slight spice and sweetness. Great for

Watermelon - A beautiful, multicolored variety with green/white skin and a pink interior. A more mild flavor with slight spice and sweetness. Great for

Daikon - A large, long, white radish with mild flavor. Ideal for snacking, soups, and pickling!

Daikon - A large, long, white radish with mild flavor. Ideal for snacking, soups, and pickling!

Harvest:

Radishes-garden

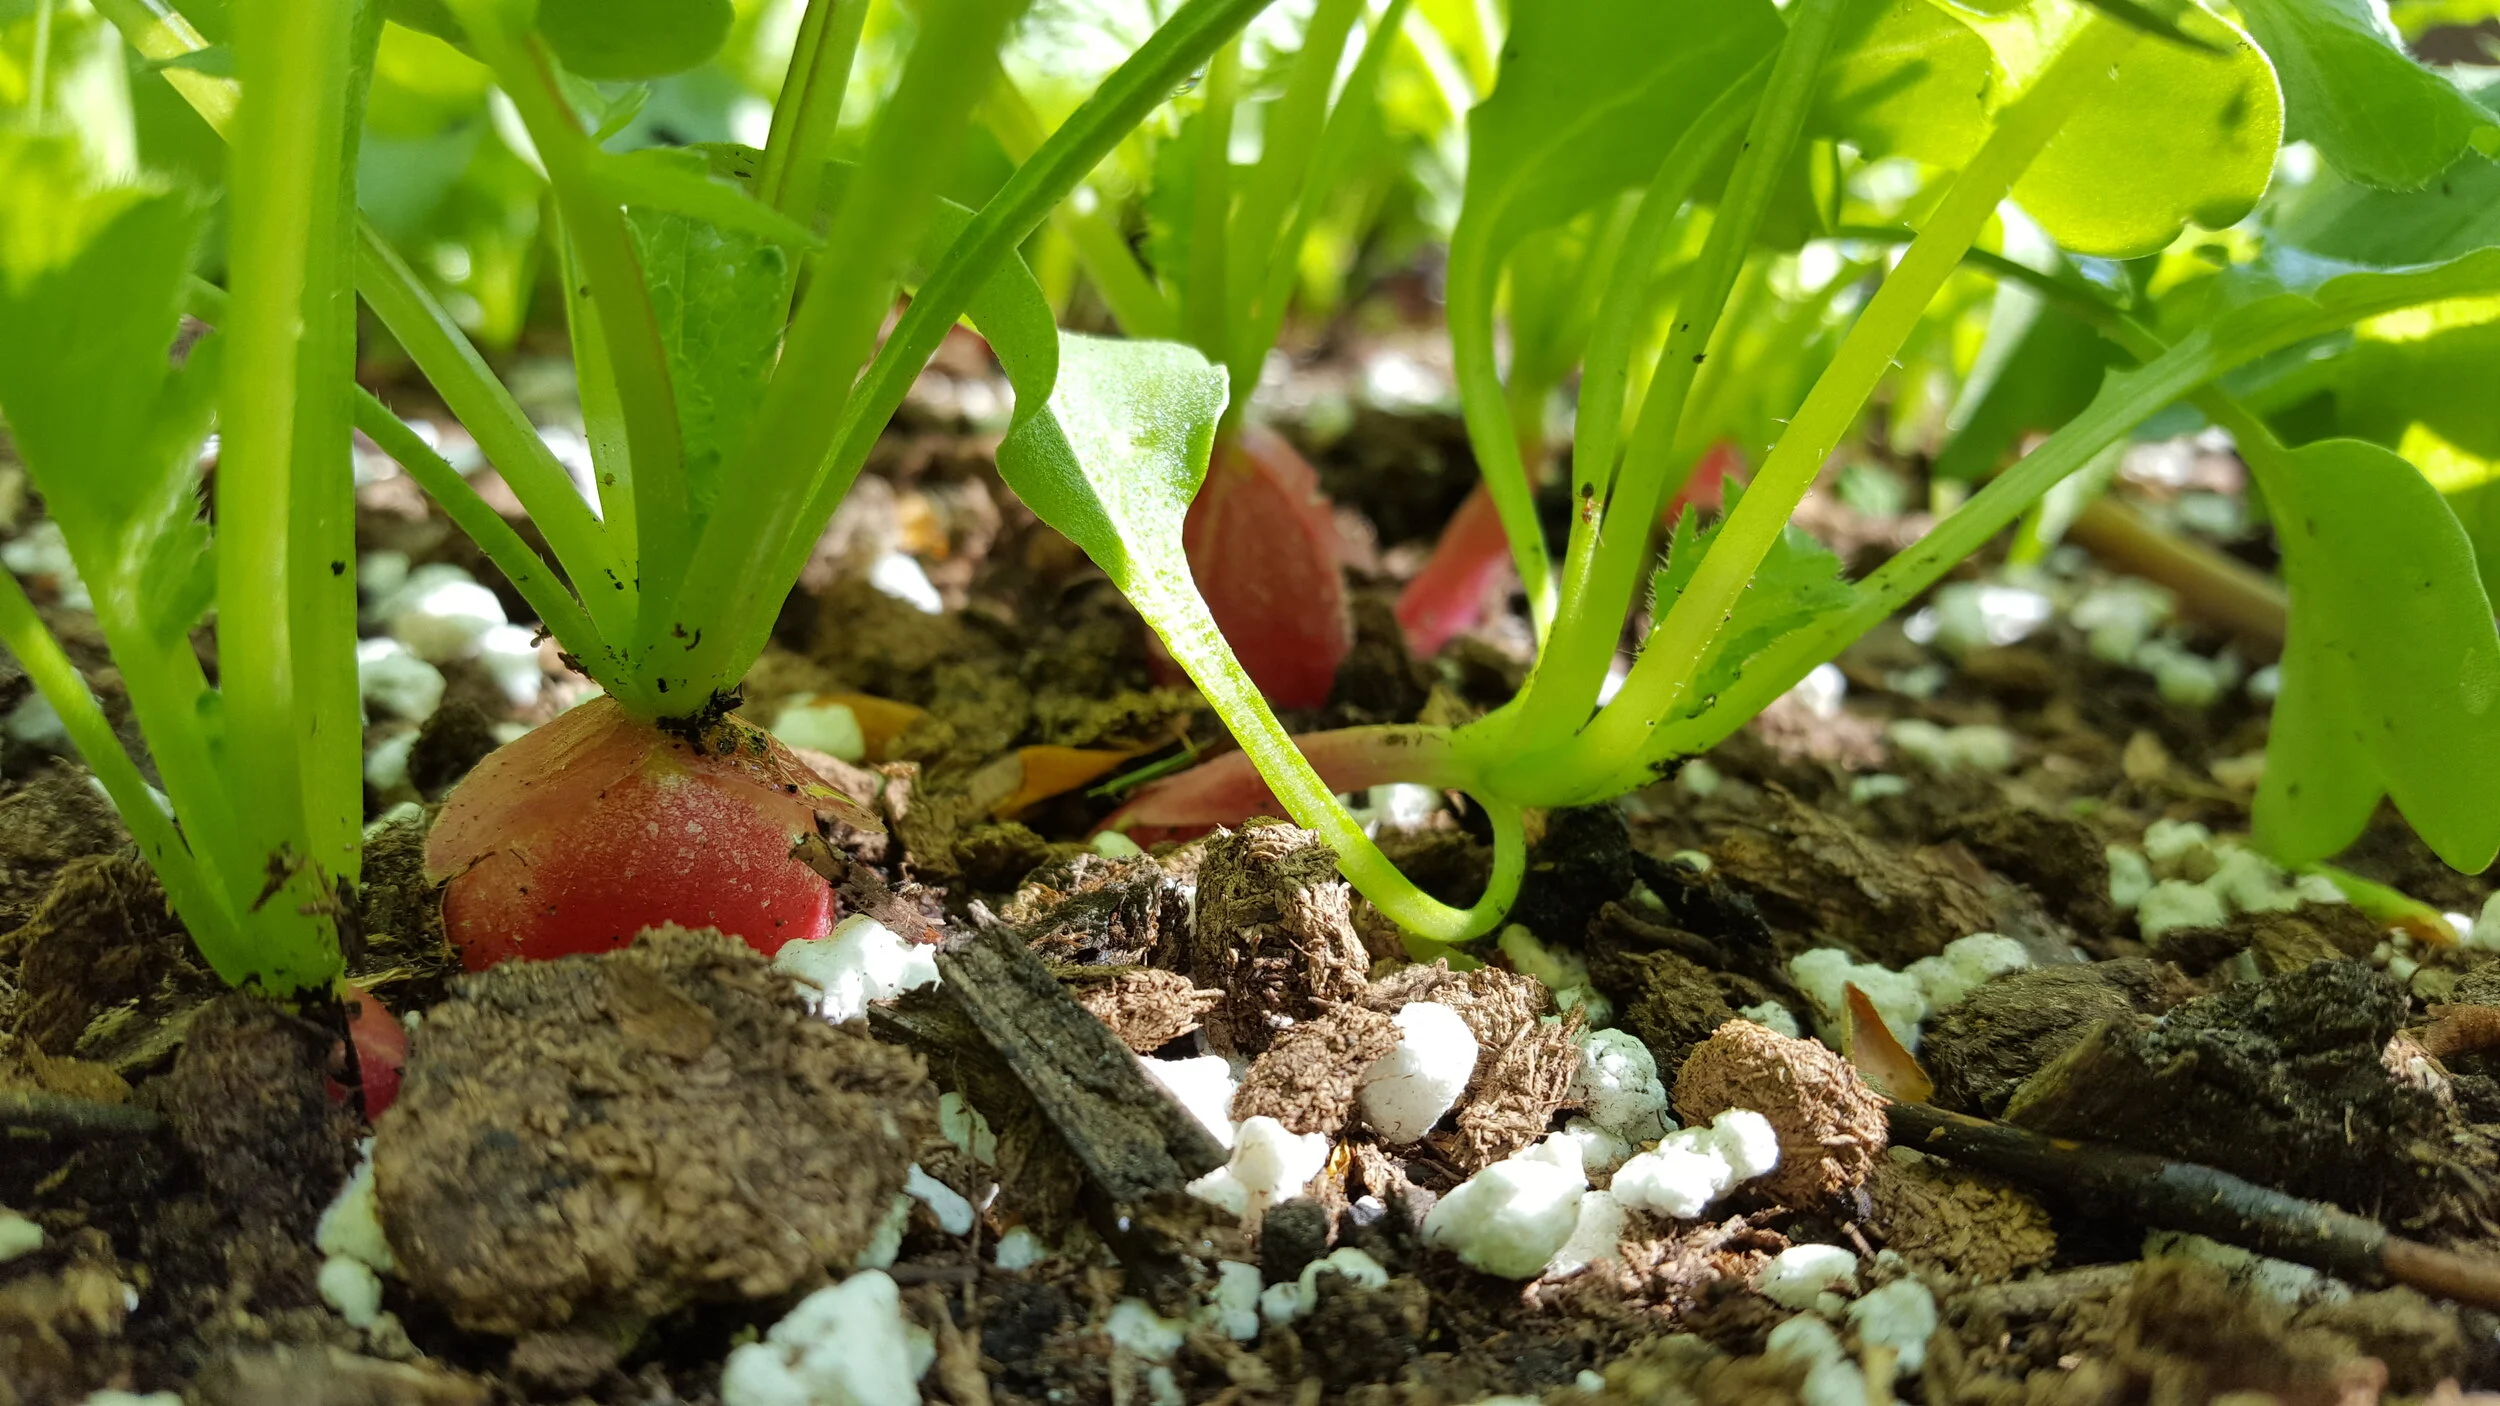
Root crops tend to push themselves out of the soil so you can see their “shoulders.” If they haven’t, you can still check to see how large they are by poking your finger under the soil and feeling the girth of the root. Our varieties will vary in size and time to maturity:

  • Cherry belle are quick to mature (they take only around 1 month!) and are ready to harvest when they are one to two inches across.

  • French Breakfast are another quick variety, ready to harvest when they are just an inch wide and up to two or three inches long.

  • Daikon radishes are a longer growing variety (taking around 2 months) and will get much larger than the others. They can be picked between 2-4 inches across and 10-12 inches long!

  • Watermelon radishes will also take around two months to grow. Their shape is more traditional, but they will also be bigger than cherry belle or french breakfast varieties. Pick watermelon radishes when they are between 3 and 6 inches across.

End of the harvest:

Once a radish has been picked, it will not grow back. If left in the ground too long, roots will get woody and pithy and may split. Greens will bolt (flower).

Storage and handling:

Separate roots from greens.

Brush soil off roots but do not wash until you are ready to eat them.

Store roots and greens separately in crisper drawer of refrigerator.

Roots may store for a week to 10 days. Greens may keep for up to a week. If greens begin to go limp but otherwise smell and look fine, place the ends in a cup of water as you would cut flowers for a day.

Recipe ideas:

  • Try the classic pairing of radishes with butter and just a pinch of salt!

  • Radishes make a great addition to any salad adding an extra crunch and zing.

  • Try pairing roasted or grilled radishes with steak, pork, or fish.

  • Pickling daikons is traditional, but if you aren’t committed to caring for a full lacto-ferment, try quick-pickling them instead.

  • Don’t forget about the radish greens! Cook as you would collards or turnip greens.

Squash

Our Varieties:

Magda zucchini (green) and Zephyr squash (yellow)

Magda zucchini (green) and Zephyr squash (yellow)

Squash can typically be broken into two main groups: Summer Squash and Winter Squash. Within those two groups are many variations.

Summer Squash grow slightly earlier in the season. They have spongey, mild but sweet flesh and thin skin. Common varieties include zucchinis, yellow squashes, zephyr, and pattypan squashes.

Winter Squash grow slightly later in the season and store for a longer time if cured properly. They typically have thick, tough skins, hearty and sweet orange flesh, and a cavity full of pulp and seeds. Common varieties include pumpkins, butternut, acorn, and candy roaster.

Harvest:

  • Most Summer Squash can be picked when they are between 8 and 10 inches long. If left to grow too long, they will get dry and seedy.

  • Winter squash vary widely in shape and size. Mature Winter squash should have tough skin that isn’t easily pierced with your fingernail and a dry stem. They can store better on the vine than Summer Squash, but need to be harvested before the first frost.

  • Harvest by grabbing the fruit firmly and using a knife, scissors, or shears to cut the stem right above the fruit.

  • The more quickly you pick them, the more they will produce!

  • Squash flowers can also be picked and eaten. It’s best to pick the male flowers so you don’t sacrifice fruit. (just make sure to leave a few for pollination!) Male flowers are more plentiful than female and are attached to the plant on long, straight, skinny stems. Female flowers will have a bulge at the base of the flower where they attach to the rest of the plant. (This is the ovary - what will turn into your squash!) Pick squash blossoms when they are just beginning to open, when they are still relatively firm and shapely.

End of the harvest:

Ideally, squash should produce all Summer long. Squash will not survive the frost, but we will usually remove them from our gardens before then.

Storage and handling:

  • Brush off any soil - do not wash your peppers until you are ready to use.

  • Place Summer Squash loose or in an open plastic bag in the crisper drawer of the fridge. It is important that they stay dry.

  • Winter Squash will store for a much long time if they are “cured.” To cure Winter squash, lay out in a warm (70-80 degree) and well-ventilated place for 2 weeks. Squash can be sun cured in the field (depending on the weather and time of year) or in a sunroom as well. (Learn more about vegetable curing here.)

  • After curing, Winter Squash should be stored in a well ventilated spot, away from direct sunlight or heat. A cool corner of your counter or in a pantry will do. Properly cured and stored, they can last for 3-6 months.

Recipe ideas:

  • Summer squash tends to be prolific! It’s perfect to sauté, bake in casseroles, deep fry, stuff with all your favorite foods, shave into “pasta,” and bake into bread!

  • Squash blossoms are great for salads, garnishes, pickles, or - for the ultimate treat - stuffing with cheese, battering, and deep frying.

  • Winter squash is sweet and hearty. It’s most commonly roasted or baked, but they can also be made into delicious soups, breads, pies, cookies, and more!

  • Winter squash seeds can also be eaten! We recommend soaking them in salted water for at least an hour and up to a day. Lay out on a sheet pan, drizzle with olive oil, and sprinkle with salt, pepper, or other spices as desired, and bake for 350 until golden brown and crisp.

Sweet Potatoes

Harvest:

  • Harvest sweet potatoes as early as when the leaves at the end of the vines have begun to yellow or as late as when the vine turns brown

  • Dig sweet potatoes out by hand, or carefully with a spade or hand rake. Follow the stem of your potato plant into the soil, digging up to 10 inches deep and two to three feet wide.

End of the harvest:

Once potatoes have been harvested, they will not grow back although it is common to miss a tuber or two that will re-sprout.

Storage and handling:

  • Brush off soil, do not wash until you are ready to use.

  • For long term storage, sweet potatoes must be “cured.” To cure sweet potatoes, lay out in a warm (85 degrees or more) and preferably humid place for a week or two. Wounds should heal and skins should harden when fully cured. 

  • Once cured, store at room temperature. Cured sweet potatoes can keep for 4-6 months.

Recipe Ideas

  • Sweet potatoes are versatile in their ability to be sweet or savory. Try sweet mashed potatoes, glazed baked sweet potatoes, sweet potato tacos, or sweet potato fries. For dessert, why not a Thanksgiving classic - sweet potato casserole with marshmallows or a southern favorite - sweet potato pie?

Swiss Chard

Our Varieties:

We plant “Bright Lights” mix, which will include Chard with multicolored stems. You may see pink, red, yellow, white, or green stems and veins, the leaves will be green, red, or purple and slightly savoyed (wrinkled).

Swiss_chard_garden

Harvest:

  • Harvest when chard has developed at least 3 or 4 leaves about the size of your hand.

  • Harvest by snapping or cutting off the outermost leaves of the plant. Harvest your way up the stalk leaving at least 4 leaves in the center to continue photosynthesizing and producing.

  • Continue to harvest chard throughout the season as it continues to produce more leaves. 

End of the harvest:

Chard prefers the cool weather but is more tolerant than other greens of the heat. Still, after a long season or a significant weather change, chard will bolt, or flower, which turns the flavor bitter and the leaves tough.

Storage and handling:

  • Bunches of chard wrapped in paper towels in a ziplock bag in the fridge will keep for a week or more. 

  • Prepared chard (de-stemmed and chopped) will keep in a tupperware in the fridge for 3 or 4 days. 

  • If leaves begin to wilt but otherwise smell and look fine, trim the stems and place them in a cup of water, like you would cut flowers, for a day.  

Swisschardleaf.jpg

Recipe ideas:

  • Chard leaves and stems are usually cooked separately, but both are edible!

  • Prepare leaves as you would spinach. Younger leaves are better raw for salads (and don’t have to be de-stemmed), older leaves are delicious cooked with onion, garlic, and a splash of vinegar.

  • Chop colorful chard stems up and prepare like you would asparagus - bake, broil, or sauté with olive oil and top with a squeeze of lemon juice.

  • If using stems and leaves for the same dish, make sure to add the stems first as they will take longer to cook!

Swiss-chard-leaves

Tomatoes

Varieties that we plant:

Tomatoes can be categorized in many different ways!

By genetics: We plant both heirlooms and hybrids

By shape and size: You probably know both full sized tomatoes and cherry tomatoes, but tomatoes may also be considered “pears,” “grapes,” and “globes!”

By growth habit: Tomatoes can either be determinate or indeterminate. Determinate tomatoes grow to a specific height and then produce all of their fruit at once. Because of the big, consolidated harvest, determinate tomatoes are good for market growers and preservation.

Ever-loved bright orange sungold cherry tomatoes.

Ever-loved bright orange sungold cherry tomatoes.

A variety of cherry tomatoes in all hues!

A variety of cherry tomatoes in all hues!

An unusual tomato - great white blues.

An unusual tomato - great white blues.

Green zebras will stay green, but boast unique stripes.

Green zebras will stay green, but boast unique stripes.

Harvest:

  • Regardless of variety, tomatoes are ready to harvest when they are plump with firm flesh with just a bit of give. If you gently squeeze the tomato your finger should be able to make a small, shallow indent that bounces right back. The fruit should be fragrant and should release from the stem easily.

  • To harvest: gently grip fruit, pull, and twist. Handle with care as tomatoes bruise easily.

  • The more you harvest the faster they will produce!

End of Harvest:

Tomatoes left on the vine for too long will split!

Tomatoes will produce all throughout the Summer. Tomatoes won’t last through the frost, but we usually remove them before then. Tomatoes are susceptible to late season blight, too, which will often slow their production late in the season.

 Storage:

  • Store tomatoes at room temperature - refrigeration will reduce flavor and make the texture grainy.

  • Try not to stack tomatoes or jostle them too much - they bruise easily which will cause them to spoil faster.

  • It helps to store tomatoes upside down, especially heirlooms with big dips and crevices. This helps keep water from collecting and rotting the tomato.

Recipe Ideas:

  • Caprese salad, tomato sauce, salsa, pizza, gazpacho, roasted tomatoes, salads, sandwiches, shakshouka, tomatoes are vital for so many incredible foods!

Turnips

image.jpg

Our Varieties:

Hakurei Turnips - A sweet, “baby” turnip variety from Japan, Hakurei’s are delicious fresh or cooked and mature quickly within 40 days!

Harvest:

  • Root crops tend to push themselves out of the soil so you can see their “shoulders.” If they haven’t you can still check to see how large they are by poking your finger under the soil and feeling the girth of the root.

  • When the turnip is two to three inches across, pull out of the soil.

End of the harvest:

Once a turnip has been picked, it will not grow back. If turnips are left in the ground too long, roots will get woody and pithy and may split. Greens will bolt (flower).

Storage and handling:

  • Separate roots from greens.

  • Brush soil off turnip roots but do not wash until you are ready to eat them.

  • Store roots and greens separately in crisper drawer of refrigerator.

  • Roots may store for a week to 10 days. Greens may keep for up to a week. If greens begin to go limp but otherwise smell and look fine, place the ends in a cup of water as you would cut flowers for a day.

Recipe ideas:

  • Serve raw Hakureis on a crudite tray with a sprinkle of salt.

  • Quarter turnips and try cooking them with a maple glaze!

  • As a side dish, cook turnip greens down just like you would collards. Try this southern-style turnip green recipe.