Beans

 
Purple Red Burgundy bush beans

Purple Red Burgundy bush beans

 
Dragon Tongue bush beans

Dragon Tongue bush beans


Our Varieties:

There are SO many varieties of beans but they can all fall under the categories of pole beans or bush beans. Pole beans climb and need a trellis of some sort for support. Bush beans have a more compact growth habit and will grow to about a foot tall.

Beans may come in all sorts of colors - green, yellow, white, purple, and striped pods are all common.

Harvest:

  • Most beans are ready to pick between 4 and 6 inches. Some varieties will grow much longer.

  • Harvest while bean pods are still tender and not tough.

  • Harvest often to encourage more production.

End of the harvest:

Bean plants will produce fruit all Summer. They will begin to slow in production and become more susceptible to disease when the temperature begins to cool. Beans will not withstand frost, but we usually remove the plants well before then. Beans left on the plant too long will get tough, woody, and bitter.

Storage and handling:

  • Beans will last in the fridge for up to two weeks. Store in a basket, bag, or tupperware with a paper towel or cloth square to remove moisture.

Recipe ideas:

  • Beans are versatile! Steam, blanche, bake, or stir fry and pair with parmesan, thyme, and a squeeze of lemon or garlic, ginger, and a splash of soy sauce.

  • Find some inspiration here

Beets

Our Varieties:

Detroit Dark Reds - Produces large, dark red roots with tasty greens

Detroit Dark Reds - Produces large, dark red roots with tasty greens

Chioggia - Candy Striped pink and white roots.

Chioggia - Candy Striped pink and white roots.

Cylindra - Dark red, elongated beets.

Cylindra - Dark red, elongated beets.

Golden - Smaller gold colored roots with a less “earthy” flavor. Roots and greens are edible cooked or raw.

Golden - Smaller gold colored roots with a less “earthy” flavor. Roots and greens are edible cooked or raw.

Harvest:

  • Root veggies tend to push themselves out of the soil so you can see their “shoulders.” If they haven’t you can still check to see how large they are by poking your finger under the soil and feeling the girth of the root.

  • When the beet is two to six inches across, pull out of the soil.

End of the harvest:

Once a beet has been picked, it will not grow back. If left in the ground too long, roots will get woody and pithy and may split. Greens will bolt (flower).

Storage and handling:

  • Separate roots from greens.

  • Brush soil off beet roots but do not wash until you are ready to eat them.

  • Store roots and greens separately in crisper drawer of refrigerator.

  • Roots may store for 2 to 4 weeks. Greens may keep for up to a week. If greens begin to go limp but otherwise smell and look fine, place the ends in a cup of water as you would cut flowers for a day.

Recipe ideas:

  • Try thinly sliced beets in a root salad or green salad

  • Steam in the oven for a quick and easy crowd pleaser, or add a twist to the classic roast beet.

  • Feeling adventurous? The most moist chocolate cake you’ll ever eat has beets as a secret ingredient!

  • And don’t forget about the beet greens! Cook them just like you would Swiss Chard (they’re the same vegetable after all).

Bok Choy

Varieties that we plant:

Pak choi (also known as pac choi or bok choy) is an Asian cabbage variety. We typically plant Joi Choi variety which is a standard, white stemmed variety.

Harvest:

  • Pak choi will “head up” forming a semi-compact head of leaves.

  • Harvest baby pak choi when head is 6 inches tall with a base of stalks about 3 inches across or let the cabbage mature at about 10 inches tall with a base of stalks about 5 inches across.

  • Harvest by identifying the place where the leaf stalks join together. Cut right below this point with a knife, scissors, or shears. 
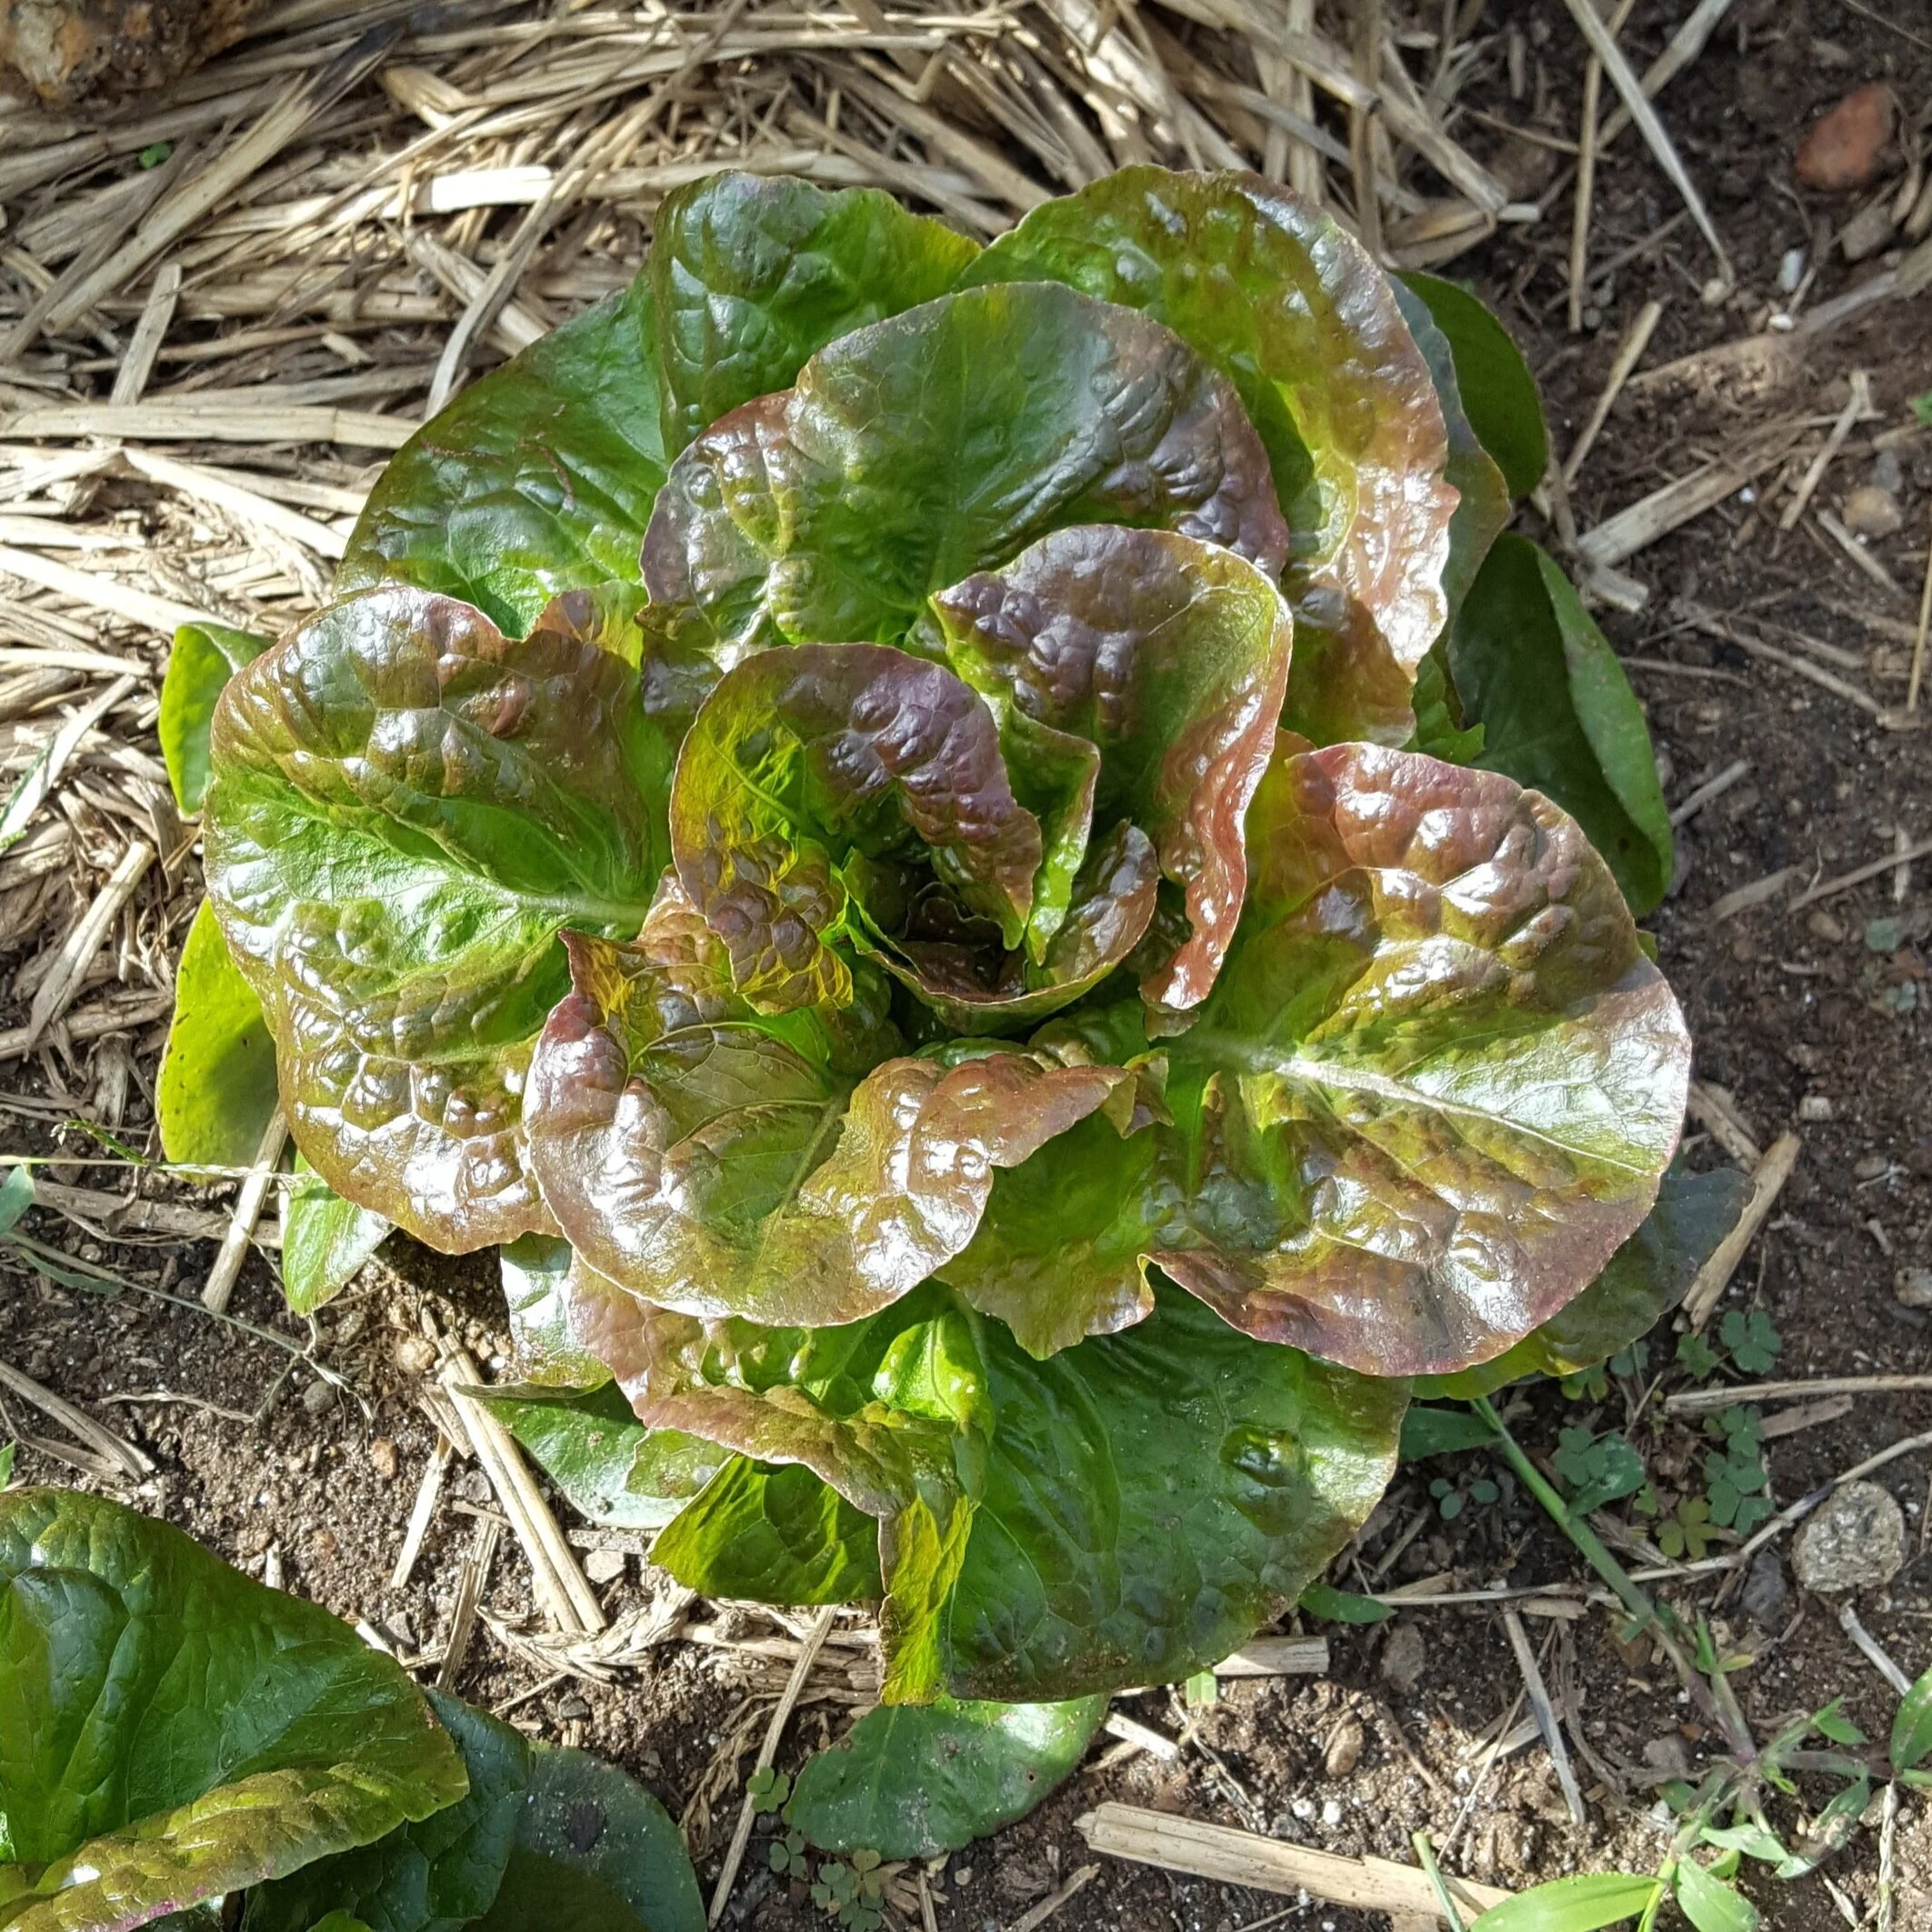
image.jpg

End of Harvest:

Once a head of pak choi is picked, more leaves may come up from the base, but a new head is unlikely. Pak choi that is left in the ground too long will bolt (flower) and get bitter.

 Storage:

  • Pak choi will store for about a week in the crisper drawer of the fridge.

  • Wash right before using.  

Recipe Ideas:

  • This asian cabbage pairs particularly well with soy sauce, hoisin, garlic, ginger, and/or sesame.

  • Slice head in half or quarters then sauté or stir fry.

Broccoli

Harvest:

broccoli.jpg
  • Harvest heads when they’re at least 5 inches across (and up to 8) but before they begin to flower. Buds should be green and tight.

  • Harvest by cutting head off of stalk with a knife or shears.

  • After harvesting the top bud, lateral buds may sprout, allowing harvest to continue.


End of Harvest:

Broccoli is very sensitive to heat and will bolt, or flower. Because the part of the broccoli that we eat is the bud, when the plant flowers it is no longer harvestable. Broccoli flowers are edible, though, and make a lovely addition to salads.

Storage:

  • Do not wash broccoli until you are ready to eat it.

  • Store broccoli loose in the fridge - it will keep for 3-5 days.

  • For longer storage, cop into florets, steam or blanch, and freeze in sealable bags or containers. 


Recipe Ideas:

  • Wash and cut broccoli into florets. Enjoy raw as a snack, steamed and tossed with pasta, added to a stir fry, or roasted with olive oil and your favorite spices. 

  • You can also eat the stems and leaves of the broccoli plant. Slice stems thinly and prepare as you would the florets. Use broccoli leaves like you would collards. 

Cabbage

Varieties we plant:

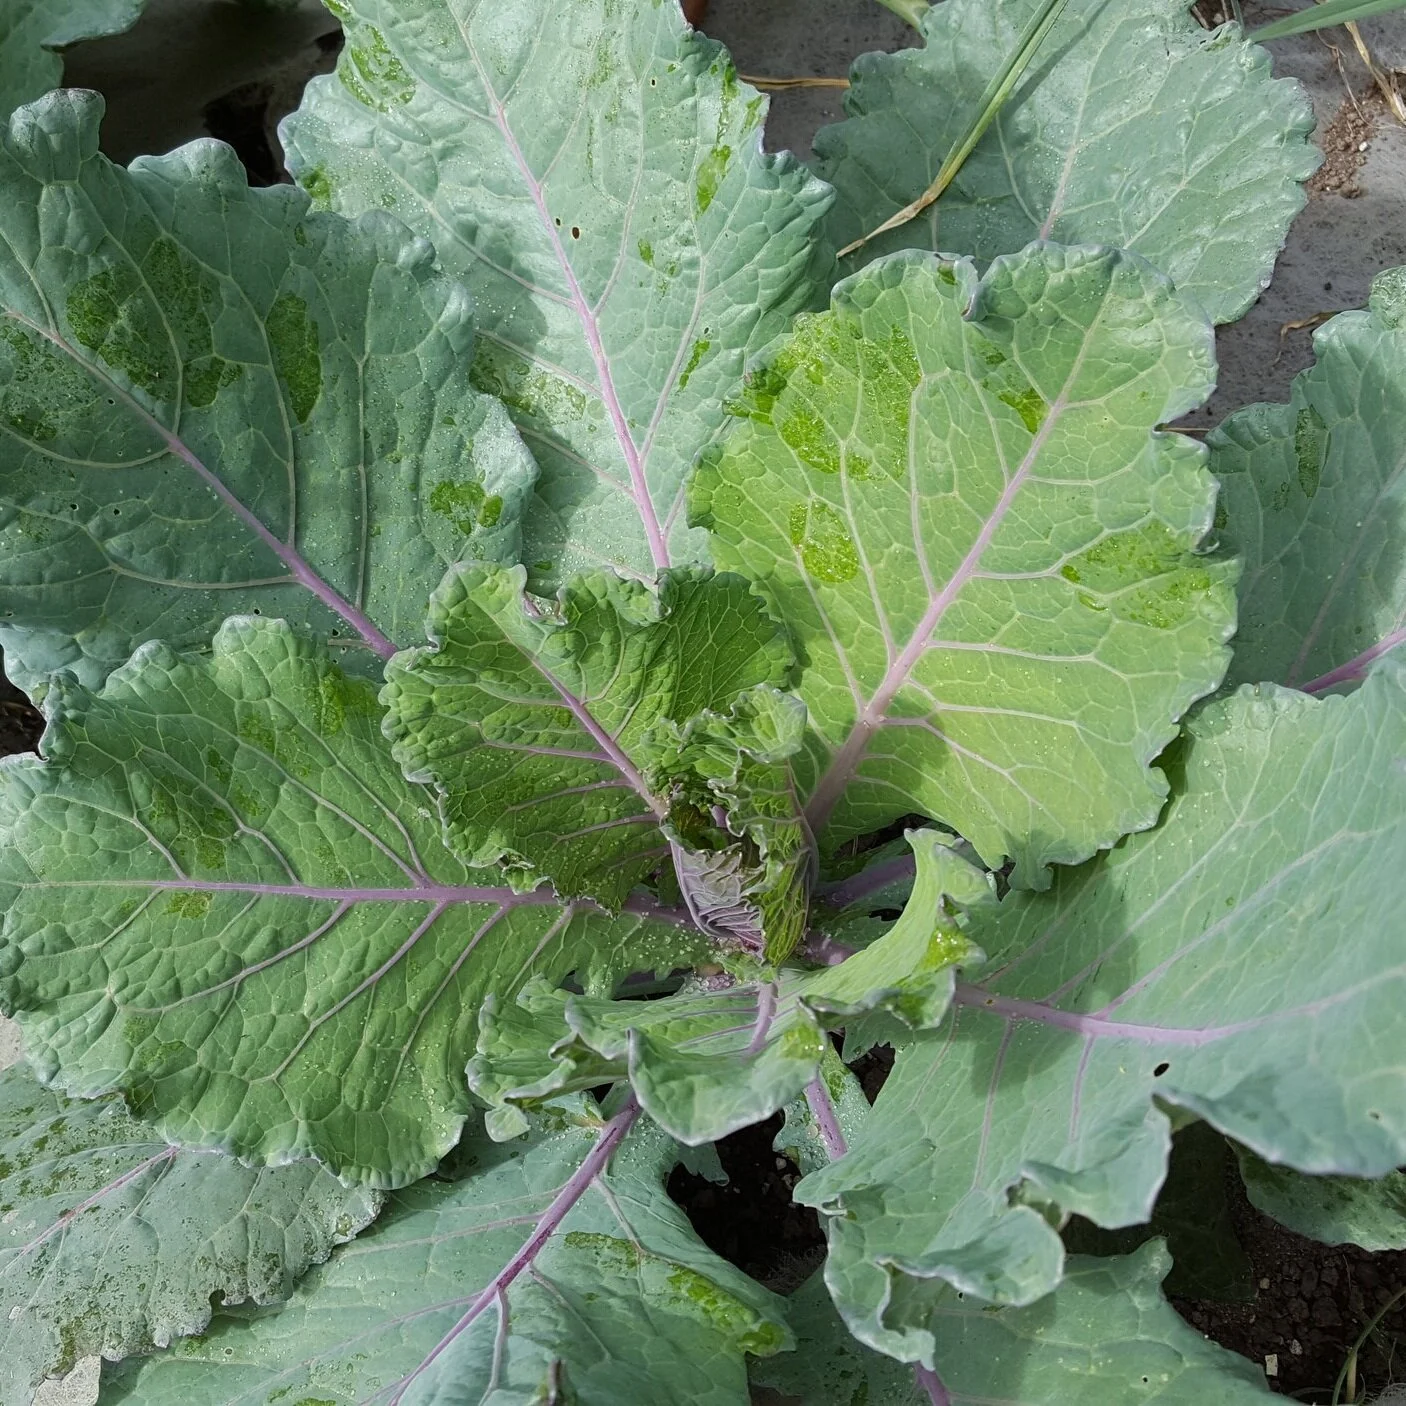
Cabbage can be green or red, wrinkled or smooth, globe-shaped or elongated.

head-of-purple-cabbage
Red-napa-cabbage.jpg

Harvest:

  • Harvest when leaves begin to tighten and form a “head” between 6 to 10 inches across.

  • Pick before the head begins to elongate and loosen as this is a sign that it is about to bolt and the flavor will become bitter.

  • Harvest with heavy duty scissors, garden shears, or a knife. Carefully cut at the base separating the head from the roots.

End of Harvest:

Once you harvest your cabbage, it will not grow back. If left in the garden it will bolt (flower). 

Storage:

  • Cabbage should be stored in plastic wrap or in a sealed back in the crisper drawer of your fridge.

  • It has a long shelf life, and will stay good for 2-3 weeks. 

Recipe Ideas:

  • Cabbage slaw is a hearty and sweet option for a Winter salad. Chop cabbage into fine strips. Consider pairing with grated carrot, apple, nuts, and/or a mustard dressing.

  • Stuffed cabbage rolls also make for a filling and unique side dish or entree. Boil cabbage leaves, roll them up with the stuffing of choice (grains are particularly good), place in a casserole topped with your favorite sauce, and bake at 350 degrees. For more inspiration, check out this recipe from the NYT. 

  • Feeling ambitious? Napa cabbage is traditionally used to make kimchi in Korean cuisine. If you want to try your hand at this spicy, tangy, pickled treat, check out this guide from Food 52.

Carrots

Our Varieties:

20190703_154927.jpg

There a four basic “types” of carrots:

Danvers: Classic long, thin, and tapered shape.

Nantes: Round on both ends and often red in color

Imperator: The most commonly commercially grown carrot. Similar in shape to Danvers, but thicker and sweeter.

Chantenay: Grows only 6 to 7 inches long and should be picked young.

There are many varieties within these types that boast many different shapes, sizes, and colors. You may see carrots in orange, red, yellow, purple, or white!

Harvest:

  • Root crops tend to push themselves out of the soil so you can see their “shoulders.” If they haven’t you can still check to see how large they are by poking your finger under the soil and feeling the girth of the root.

  • Harvest carrots when they reach between 3/4” and 2” across. Carrots will be sweeter and juicier the younger they are picked. If left in the ground too long they will get woody, dry, and flavorless.

  • Harvest by carefully holding the top of the carrot (the root, if possible, rather than the greens) and pull up while you wiggle it back and forth. Be careful not to break of the greens of the top of the root. Have a hand-spade or digging fork nearby just in case the ground is really tough. Use this to loosen the soil around the root - stick the spade into the ground 6 inches away from the carrot and then pull. Don’t try to dig the carrot out as you will likely cut into the root.

End of the harvest:

Once a carrot has been picked, it will not grow back. If left in the ground too long, roots will get woody, dry, and flavorless and may split. Greens will bolt (flower).

Storage and handling:

  • Separate roots from greens and store separately.

  • Brush soil off but do not wash until you are ready to eat them.

  • Store roots in a slightly opened bag or tuperware in the crisper drawer. Roots may store for up to a month.

  • Store greens in a bag or tupperware with a paper towel or cloth to soak up extra moisture. Greens may keep for up to two weeks.

Recipe ideas:

  • Enjoy carrots raw as a snack with peanut butter or hummus.

  • Try a sweet staple that even the kids will like: glazed carrots!

  • Mashed or pureed carrots can stand in for, or be mixed in with, mashed potatoes.

  • Don’t toss those carrot greens! Carrot greens are delicious and can be used in soups, broths, pastas, salads, as garnish, in pesto, in chimichurri, and so much more!

Cauliflower

Harvest:

  • Harvest heads when they’re at least 5 inches across (and up to 8) but before they begin to flower. Buds should be tight.

  • Harvest by cutting head off of stalk with a knife or shears.

  • After harvesting the top bud, lateral buds may sprout, allowing harvest to continue.


End of Harvest:

Cauliflower is very sensitive to heat and will bolt, or flower. Because the part of the cauliflower that we eat is the bud, when the plant flowers it is no longer harvestable.

Storage:

  • Do not wash cauliflower until you are ready to eat it.

  • Store cauliflower loose in the fridge - it will keep for 3-5 days.

  • For longer storage, cop into florets, steam or blanch, and freeze in sealable bags or containers. 


Recipe Ideas:

  • Wash and cut cauliflower into florets. Enjoy raw as a snack, steamed and tossed with pasta, added to a stir fry, or roasted with olive oil and your favorite spices. 

Collards

Collards 

20191010_111410.jpg

Harvest:

  • Harvest collards when the plant has developed at least 3 or 4 leaves about 8 to 10 inches long.

  • Leaves will taste the best when they are young - no more than 10 inches long.

  • Harvest by snapping or cutting off the outermost leaves of the plant. Harvest your way up the stalk leaving at least 4 leaves on top to continue photosynthesizing and producing.

  • You can continue to harvest collards throughout the season as it continues to produce more leaves. 


End of Harvest:

Collards prefer the cool weather - we plant them in the Spring and Fall. When the weather begins to heat up collards will bolt, or flower, which turns the flavor bitter and the leaves tough. Fall Collards may survive into December, but will stop actively growing after consistent frost.


Storage and handling:

  • Bunches of collards wrapped in paper towels in a ziplock bag in the fridge will keep for a week or more. 

  • If leaves begin to wilt but otherwise smell and look fine, trim the stems and place them in a cup of water, like you would cut flowers, for a day. 


Recipe Ideas:

  • Cook down collards with onion and garlic - saute, braise, or cook into a soup. Collards pair particularly well with ham or beans!


Cucumbers

A variety of cucumbers, including the unusual yellow lemon cucumbers!

A variety of cucumbers, including the unusual yellow lemon cucumbers!

Our Varieties

All of the cucumbers we plant will fall under the categories “Slicing” or “Pickling.”

Slicing cucumbers are optimized for eating fresh - they are juicier, softer, and have a thinner skin. They tend to be longer and less prickly - like the English cucumbers you may buy at the grocery store.

Pickling cucumbers are bred to be pickled. They are slightly drier, more compact, and have thicker skins. Pickling cukes are typically shorter and harder than slicing cukes. They may have more spines.

You can use either type for whatever you’d like - pickling slicing cukes may just result in softer pickles while eating pickling cukes may be a little tougher and less flavorful.

 
Pickling Cucumbers

Pickling Cucumbers

Slicing Cucumbers

Slicing Cucumbers


Harvest:

  • The size of a mature cucumber will vary depending on the variety. Pickling cukes should be picked between 4 and 6 inches long and 1-2 inches across, while most slicing cukes can be harvested up to 8 inches long and 2-4 inches across. Some Asian varieties like the heavily ridged Suyo Long may get past 12 inches but will stay relatively skinny.

  • Harvest by firmly grasping the fruit with one hand and the vine with the other, twist and pull the fruit. Alternatively, cut the stem of the fruit with a knife, heavy duty scissors, or shears.

  • You may want to wear gloves; some cucumbers and cucumber vines have spines that can cause minor irritation. Spines easily brush off of harvested fruit for easier handling.

  • Harvesting often encourages faster fruit production!

End of the harvest:

Cucumber plants will produce fruit all Summer. They will begin to slow in production and become more susceptible to disease later in the season. Leaves and vines will turn yellow then brown. Cucumbers will not withstand frost, but we usually remove the plants well before then.

Storage and handling:

  • Brush of any soil or spines, but do not wash the cucumber until you are ready to use it.

  • Store cucumbers in an open plastic bag or Tupperware with a cloth or paper towel to soak up excess moisture and humidity. Cucumbers like to stay dry!

  • Cucumbers can store in the fridge for about a week.

Recipe ideas:

  • There are SO many ways to enjoy cool, crispy, refreshing cucumbers.

  • Cucumber water is the most refreshing Summertime beverage. Try adding a squeeze of lemon or a sprig of mint. (Or consider making a cucumber cocktail!)

  • Tzatziki is the perfect mix of tangy, salty, creamy, and refreshing and is a welcome topping to just about anything - sandwiches, burgers, chicken, fish, felafel, toast.

  • Need more refreshing Summertime snacks? How about cucumber gazpacho or slushies?

  • Of course, there are endless varieties of cucumber salad. Like this cucumber cantaloupe salad, this classic vinegary cuke salad, or this simple mediterranean inspired cucumber salad.

  • And let’s not forget about pickles - try a vinegar dill pickle, bread and butter pickles, lacto-fermented pickles, or, if you’re short on time, quick pickles!

Cut Greens

Our Varieties:

We grow many different types of “cut-and-come-again” greens. Unlike head lettuce or cabbage that is done and gone after it is picked, cut greens can be sheared down and then will continue to grow for another harvest. Most cut greens will give you three to four harvests.

You’ll often find these cut greens in our gardens:

Spinach - Dark green and often savoyed (wrinkled), spinach is delicious in hearty salads but is sturdy enough to be cooked down too.!

Spinach - Dark green and often savoyed (wrinkled), spinach is delicious in hearty salads but is sturdy enough to be cooked down too.!

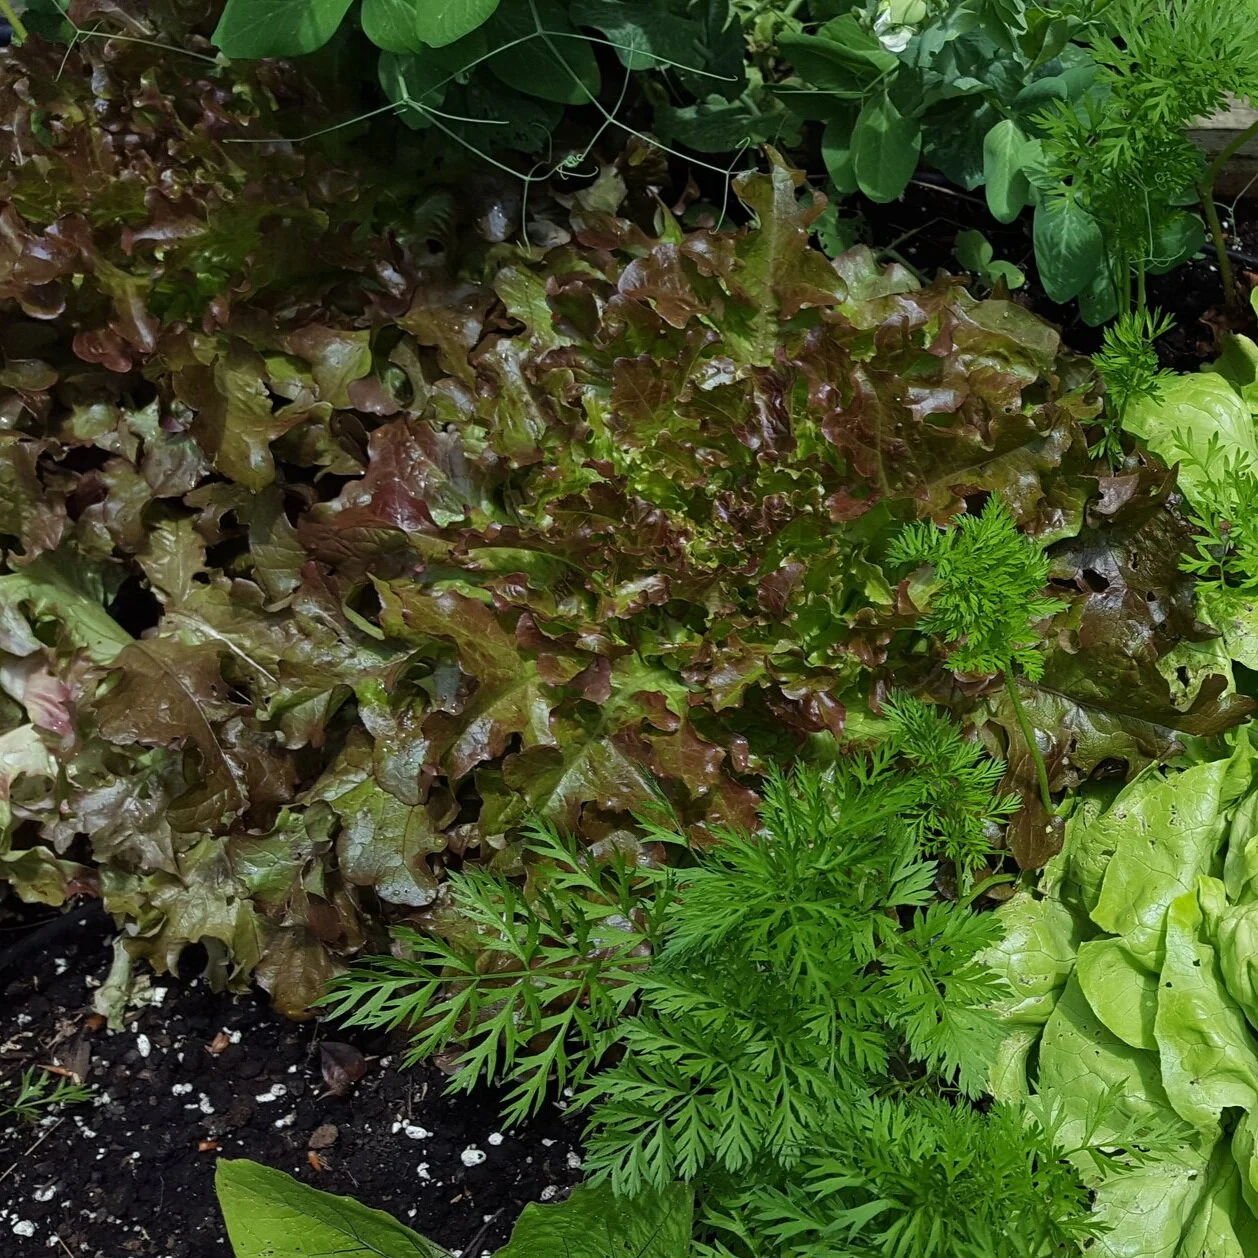
Leaf Lettuce - In shades of green and red, leaf lettuce is a light and bright base for salads.

Leaf Lettuce - In shades of green and red, leaf lettuce is a light and bright base for salads.

Arugula - Arugula’s leaves are often dainty and lobed. It’s spicy flavor makes it a tangy salad base or sandwich filling.

Arugula - Arugula’s leaves are often dainty and lobed. It’s spicy flavor makes it a tangy salad base or sandwich filling.

Baby Kale - grown in more compact spaces and picked younger than fully mature kale, baby kale is sweet and tender.

Baby Kale - grown in more compact spaces and picked younger than fully mature kale, baby kale is sweet and tender.

Harvest:

  • Harvest when leaves are at least four inches long.

  • You can harvest by either picking leaves individually or by holding a bunch of leaves from their tops and cutting them with shears, scissors, or a knife about three inches from the ground. In either case, make sure to leave the bud in the middle of the plant - this is where new leaves will grow or “come again.”

End of Harvest:

Cut greens will bolt (flower) when the temperature rises turning the leaves tough and the flavor bitter. Cutting down your greens frequently will slow bolting.

Note - Even if your arugula bolts, the flowers are edible and make pretty and tangy salad additions, toppings, or garnishes.

 Storage:

  • Do not wash until you are ready to use.

  • Place cut greens in a plastic bag or large Tupperware with a paper towel or cloth to absorb extra moisture and place in the refrigerator.

  • Cut greens will last up to a week in the fridge.

Recipe Ideas:

Eggplant

Our Varieties:

Eggplants come in a few colors, shapes, and sizes. There are the classic, bulb-shaped fruit and long skinny Asian varieties. Some eggplants may grow up to 10 inches long while others will stay around 5 inches long. Though the classic eggplant is deep purple, others may be black, lavender, striped, or white.

image.jpg
 
20190815_121957.jpg

Harvest:

  • Regardless or the variety, an eggplant is ready to harvest when the skin is glossy and the flesh is firm with just a bit of give. If your finger can make an impression on the surface of the eggplant, it should bounce back quickly.

  • Harvest by gently holding the fruit and using a knife, scissors, or shears to cut the stem right above the fruit.

  • The more quickly you pick them, the more they will produce!

End of the harvest:

Eggplant will produce all Summer long. While eggplant will not survive the frost, we will usually remove them from our gardens before then.

Storage and handling:

  • Brush off any soil - do not wash your eggplants until you are ready to use them.

  • Place eggplant loose or in an open plastic bag in the crisper drawer of the fridge. It is important that they stay dry.

  • Eggplant should be used soon after harvest for best flavor and texture, but can keep in the fridge for up to a week.

Recipe ideas:

Fennel

20190815_135349.jpg

Harvest:

  • Fennel greens can be pinched off throughout the season as needed. Just cut off with scissors ensuring that you are not removing more than 1/3 or the plant’s foliage.

  • The fennel bulb is what fennel is the part typically harvested. The bulb is the swollen part of the fennel stalks when the stalks all come together right above where they meet the roots. Harvest when the bulb is about 5 inches across and 3 inches wide by cutting right above the roots and below the bulb with scissors, shears, or a knife.

  • Fennel pollen and seeds can also be harvested and used in the kitchen, but it means sacrificing the bulb. To harvest fennel pollen, allow the plant to bolt (flower). Once the flowers appear and open, cut them off and place them in a paper bag - leave the bag in a warm, dry place for about a week. When the flowers a dry and crisp, give the bag a good shake, remove the now empty stems and store the pollen/petals in a glass jar. To harvest fennel seeds, wait for the flowers to bloom and go to seed, then collect the flower heads and follow the same instructions as above.

End of the harvest:

Once a fennel bulb has been harvested it will not grow back. If left in the ground too long, fennel will bolt (flower) turning the bulb and greens tough and bitter. If your fennel bolts, see above for how to harvest the pollen or seeds.

Storage and handling:

  • Store the stalks and bulb separately. Cut stalks an inch or two above the bulb.

  • Store stalks in a plastic bag or tupperware. If they are particularly leafy, add a paper towel or cloth to the bag to soak up excess moisture. Stalks and fronds will keep for about a week.

  • Store the bulb in a plastic bag or tupperware, or stand upright in a shallow dish of water. Bulb will keep for up to two weeks.

  • Store pollen/seeds in a glass jar out of direct sunlight. These will keep for 6 months - a year.

Recipe ideas:

  • Enjoy the licorice flavor of fennel sliced thin into salads or, for a more subdued flavor, try roasting it.

  • Stalks can be used much like celery while fronds can be used just like any other herb.

  • Fennel pollen can be added to rubs or spice mixes to coat chicken or fish or sprinkle it on top to finish a dish.

  • Fennel seeds are commonly used in Indian cooking and may be found in soups, sauces, sausages, spice blends, or even cookies!

Garlic

Our Varieties:

20191026_114802.jpg

We plant two varieties of garlic: hard-neck and soft-neck. The major differences between the two are the clove arrangement (hard-neck develop a single row of cloves while soft-neck develop a less organized grouping), the climate (hard-neck are best for cool climates and soft-neck are best for warm climates), and the development of garlic scapes (only hard-neck will develop scapes). Garlic scapes are the long, curly shoots sent from the top of the garlic leaves to hold the garlic flower.

Garlic Scapes!

Garlic Scapes!

Harvest:

  • If you have hard-neck garlic in your garden, scapes will begin forming around early June. Once the scape has curled and before the bud opens into a flower, cut or snap the scape off of the top of the garlic stalk. This helps redirect energy from flower production to bulb formation.

  • Garlic greens should begin to turn brown and droop before harvest, but the foliage should not be allowed to die back completely. The first week of July is the ideal time to harvest your garlic.

  • Use a hand-spade or digging fork to loosen the soil around the garlic bulb. Stick the spade into the ground 6 inches away from the garlic and then pull the handle towards you. Don’t try to dig the bulb out as you will likely cut into it.

End of the harvest:

Once garlic has been harvested, it will not grow back. If left in the ground to long, it will bolt (flower) and get tough.

Storage and handling:

  • Brush off soil, do not was and do not remove stalk or paper until you are ready to use the garlic.

  • For short term storage, place garlic bulbs in a dry place at room temperature.

  • For long term storage, garlic must be “cured.” Hang garlic by the stem or lay it out in a warm (70-80 degree F), well-ventilated place out of direct sunlight for at least 2 weeks or until the stalk is hard and dry. At this point you can trim off the stalk or keep it on. (Braiding and hanging soft-necked garlic is an effective and beautiful storage option!)

  • Store cured garlic in a dark, cool, and well ventilated place. Cured soft-neck garlic can be stored for 6-8 months while hard-necked garlic will keep for 2-4 months.

Recipe ideas:

  • Garlic scapes are a tasty and novel treat! Check out our blog post for more info about them and try roasting, grilling, or pickling scapes!

Ground Cherries

Ground cherries are unusual crops that are related to tomatoes. They make delicious snacks and taste like pineapple! The fruits grow in husks, much like tomatillos.

20190911_121142.jpg

Harvest:

  • Ground cherries are unusual to harvest insofar as they are fully ripe after they’re fallen off the plant. Search around the plant for husks with no holes and a fruit that almost fills it all the way out. Harvesting fruit off the plant may give you tart fruit.

End of the harvest:

Ground cherries will not make it past the first frost but we usually remove them from our gardens before then.

Storage and handling:

  • Ground cherries have an amazing shelf life. Leave ground cherries in their husks in a cool, dry place with ventilation - the may store up to 3 months!

Recipes:

  • Enjoy ground cherries as a sweet snack, add to a fruit salad, or, if you have a bumper crop, make ground cherry jam!

Head Lettuce

Varieties that we plant:

Salanova Red Butter

Salanova Red Butter

Coastal Star

Coastal Star

Alkindus

Alkindus

Salanova Sweet Crisp

Salanova Sweet Crisp

Red Salad Bowl

Red Salad Bowl

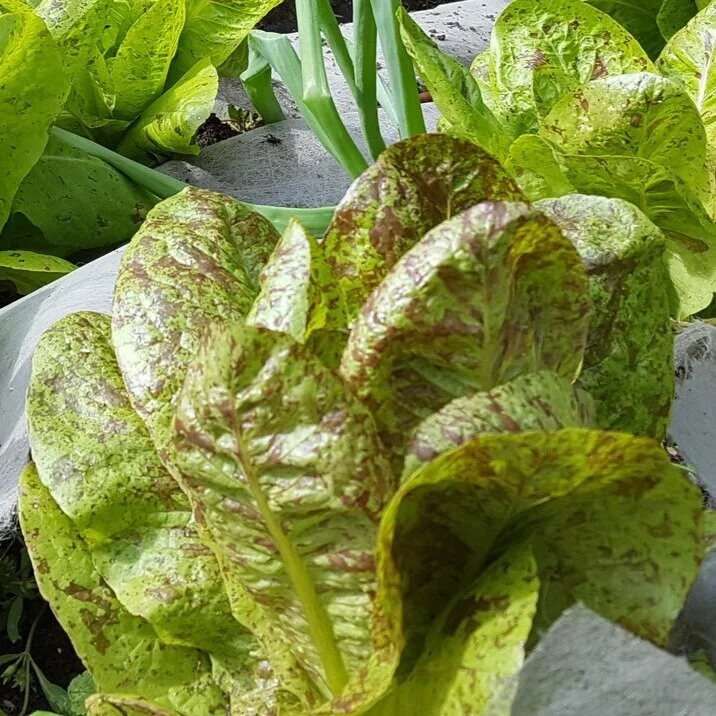
Flashy Trout Back

Flashy Trout Back

Mirlo

Mirlo

Cegolaine

Cegolaine

Harvest:

  • Head lettuce will “head up” forming a semi-compact to compact head of leaves, depending on the variety.

  • Harvest mini heads at about 6 inches across or mature heads at around 10 inches across.

  • Harvest by cutting right below the head with a knife, scissors, or shears. 

End of Harvest:

Once a head is picked, more leaves may come up from the base, but a new head is unlikely. (With the exception of Salanova varieties - these often produce a second head!) Head Lettuce that is left in the ground too long will bolt (flower) and get bitter.

 Storage:

  • Do not wash until you are ready to use.

  • Wrap head of lettuce in a cloth or paper towels and place inside a plastic bag or large tupperware.

  • Head lettuce can store for about a week.

Recipe Ideas:

  • Of course any classic salad will be perfect for your head lettuce. But if you want to stretch just a little out of your comfort zone, try quartering a compact head of lettuce for a wedge salad.

  • Large head lettuce leaves also make healthy, low-carb wraps that can be filled with chicken or tuna salad, veggie burger crumbles, shrimp, you name it!

Herbs

Our Varieties:

20191003_105304.jpg

Herbs are integrated into almost all of our gardens - they’re easy to grow and easy to use. Perennial herbs are a great way to add beneficial pollinator supporting perennials into gardens.

Common herbs you’ll find in our gardens include cilantro, parsley, chives, basil, dill, sage, fennel, rosemary, thyme, or mint.

Harvest:

  • Cut chives, parsley, and cilantro by the bunch from the base of the plant. Harvest young leaves for the best flavor but avoid cutting from the center “rosette” of the plant - this is where new growth appears.

  • Cut new growth tips off of thyme, rosemary, and sage. The stem should be flexible and green rather than tough and woody. Do not pick off individual leaves or strip stalks of leaves - this will stress the plant out.

  • Pinch off the tips of basil and mint stalks. You want to pinch right above the node where leaves meet the stem. This encourages new growth at these nodes - your plant will split and grow bigger and stronger. Do not pick off individual leaves - this will stress the plant out.

  • Harvest often to promote growth and slow bolting, but never take more than one third of the foliage at a time. Wait to harvest until your plant is established and strong.

20191113_175817.jpg

End of the harvest:

Herbs will produce all season long. Eventually they will bolt (flower). Often, herb flowers are edible and can be used. In some cases, the herb seeds produced after flowering can also be used (fennel seeds, coriander (cilantro) seeds). Some herbs are annuals in our climate. These will die at the end of their season and will need to be replanted next year - they include basil, parsley, cilantro, and fennel. Others are perennials. They will die back in the Winter but will return year after year. These include chives, sage, rosemary, thyme, and mint.

Herbs drying for long-term storage

Herbs drying for long-term storage

Storage and handling:

  • Brush off soil, do not wash herbs until you are ready to use.

  • Store herbs in a sealed ziplock bag with a paper towel or piece of fabric to soak up excess moisture. Alternatively, stand herb stalks up in a glass of water like cut flowers - store in the fridge. Herbs may last up to a week. Woodier herbs (rosemary, sages, thyme) may last longer.

  • For longer term storage, check out our blog post on freezing and drying herbs!

Kales

Our Varieties:

Lacinato Kale: dark green and wrinkly oblong leaves. Sometimes called “dinosaur kale” because of the wrinkly texture of its leaves

Lacinato Kale: dark green and wrinkly oblong leaves. Sometimes called “dinosaur kale” because of the wrinkly texture of its leaves

Russian Variety Kale: Leaves that are frilly along the edges but that aren’t as curly as Vates or Red Bore. Purple/green color with purple stalks.

Russian Variety Kale: Leaves that are frilly along the edges but that aren’t as curly as Vates or Red Bore. Purple/green color with purple stalks.

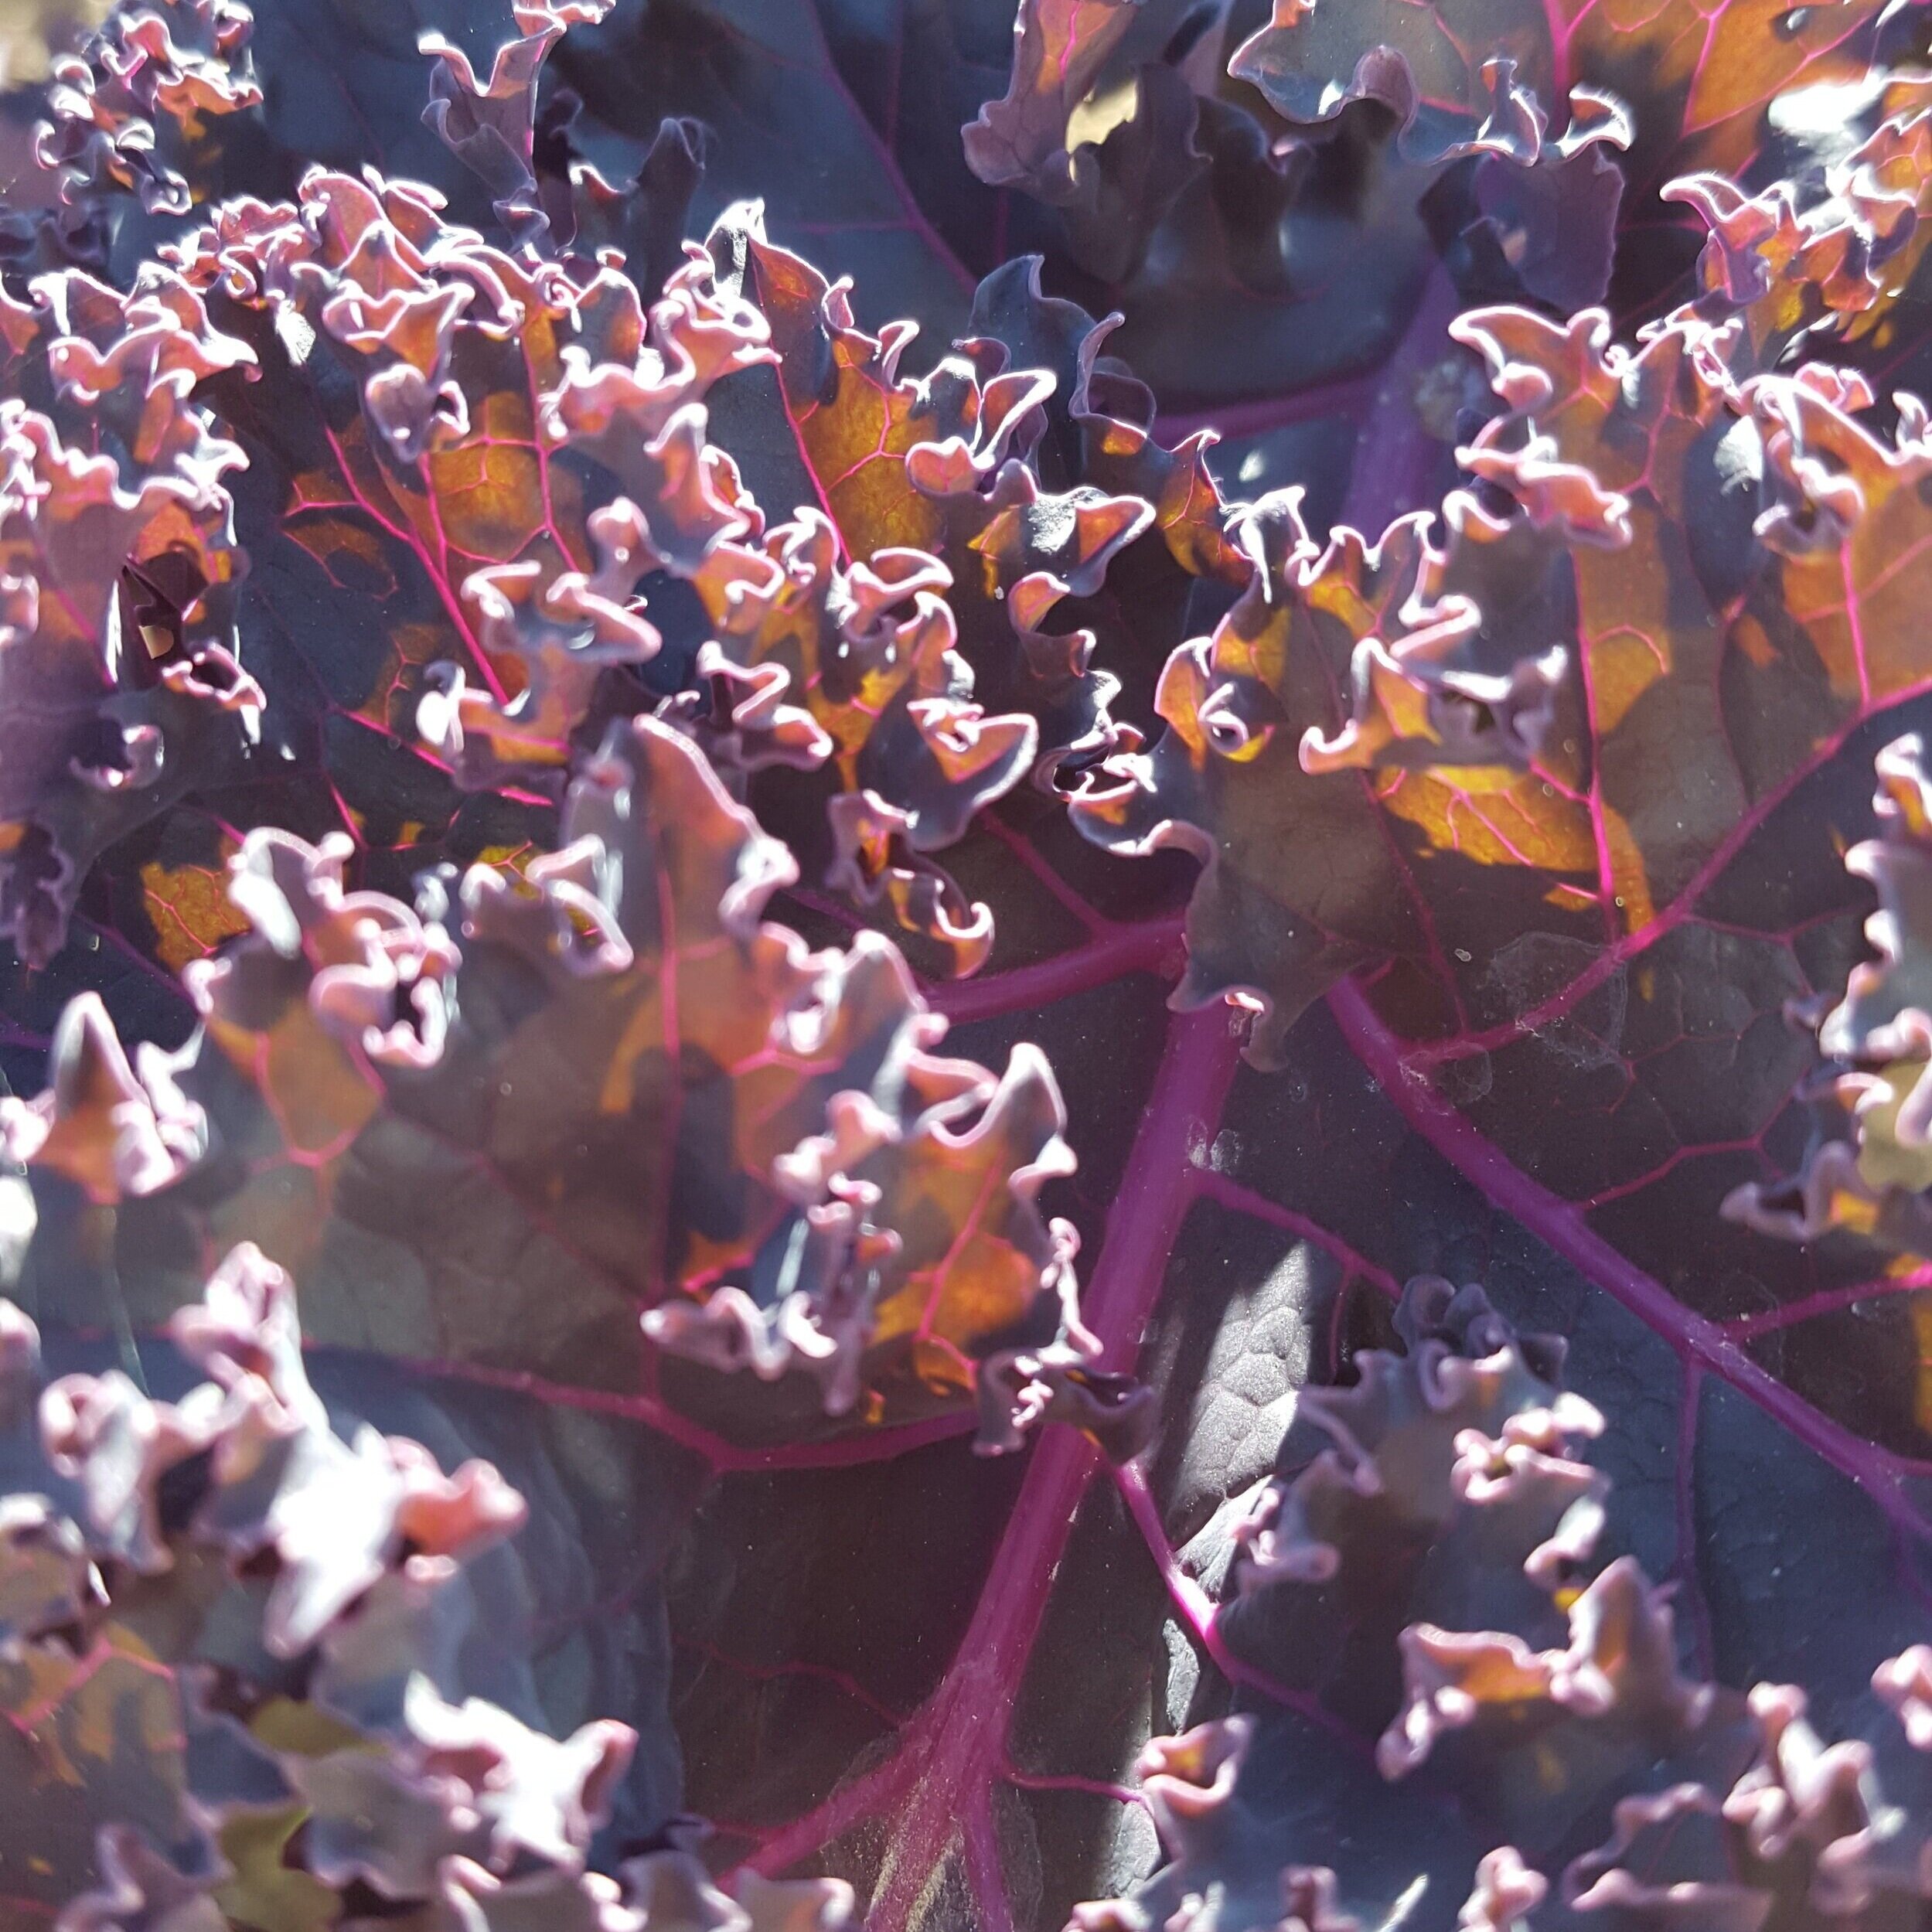
Red Bore Kale: A purple curly kale variety.

Red Bore Kale: A purple curly kale variety.

Vates: commonly known as “Curly kale.” The classic curly variety that you might find in the grocery store.

Vates: commonly known as “Curly kale.” The classic curly variety that you might find in the grocery store.

Kale plants after many, many harvests!

Kale plants after many, many harvests!

Harvest:

  • Harvest when kale has developed at least 3 or 4 leaves about the size of your hand.

  • Harvest by snapping or cutting off the outermost leaves of the plant. Harvest your way up the stalk leaving at least 4 leaves on top to continue photosynthesizing and producing.

  • You can continue to harvest kale throughout the season as it continues to produce more leaves. 

End of the harvest:

Kale prefers the cool weather - we plant it in the Spring and Fall. When the weather begins to heat up kale will bolt, or flower, which turns the flavor bitter and the leaves tough. Fall Kale may survive into December, but will stop actively growing after consistent frost.

Storage and handling:

  • Bunches of kale wrapped in paper towels in a ziplock bag in the fridge will keep for a week or more. 

  • Prepared kale (de-stemmed and chopped) will keep in a tupperware in the fridge for 3 or 4 days. 

  • If leaves begin to wilt but otherwise smell and look fine, trim the stems and place them in a cup of water, like you would cut flowers, for a day. 


Recipe ideas:

  • Try using kale in salads - use young, tender leaves and “massage” the kale leaves with lemon juice 10 to 15 minutes before compiling the rest of the salad. The acidity of the lemon juice and the “massage” breaks down the toughness of the raw kale leaves. 

  • You can also cook kale down like you would spinach or collards to use in pastas, casseroles, or as a side.  

  • For a quick, delicious, and healthy snack, consider making kale chips! Tear curly kale leaves into bite size pieces. Toss with olive oil and spices of choice (salt/pepper, a dash of hot pepper flakes, old bay, etc.) and bake at 350 for 10 minutes. Check frequently to ensure they don’t burn and remove from the oven when they are just barely turning gold and are getting crispy (they’ll continue to crisp up for a few minutes after being removed). 


Kohlrabi

20160624_094838.jpg

Kohlrabi is an unusual vegetable in the Brassica family. Primarily grown for its swollen stem, kohlrabi is as crisp and juicy as an apple with a flavor much like a more sweet and mild broccoli. Kohlrabi may be green, purple, or white.

Harvest:

  • The bulb is the part typically harvested. This is the spherical and swollen part of the kohlrabi stem right above the roots. Harvest when the bulb is between 3 and 5 inches across by cutting right above the roots and below the bulb with scissors, shears, or a knife.

End of the harvest:

Once kohlrabi has been harvested it will not grow back. If left in the ground too long, kohlrabi will bolt (flower) turning the bulb and greens tough and bitter.

Storage and handling:

  • Strip bulb of leaves, stalk, and roots. Store bulbs and leaves separately.

  • Store leaves in a sealed plastic bag or tupperware with a piece of paper towel or fabric to soak up excess moisture. Leaves can keep for up to one week.

  • Store bulbs in a slightly opened bag or tupperware in the crisper drawer of the refrigerator. Bulbs can keep for up to 4 weeks.

Recipe ideas:

  • Peel off the tough outer skin with a vegetable peeler to prepare.

  • Raw kohlrabi makes a great snack or a refreshing addition to salads and slaws. Use them as you would apples or jicama.

  • Kohlrabi often passes as a root vegetable (it’s even known as the German Turnip!) so it can be used just like many root veggies, or alongside them. Try roasting kohlrabi with root veggies and garlic, pureeing it into a soup, or grating it into frittatas!

  • Use kohlrabi leaves as you would kale or collard greens.

Leeks

Leeks are a member of the Allium family, which includes onions, shallots, and garlic. It is similar in taste to green onions - milder than onions, they still have a little bit of the classic onion tang. As opposed to an onion, leeks are mostly straight, rather than bulbous. We use the bottom part of the stalk where the flesh turns white and all of the sheaths of leaves are tightly wrapped around on another.

Harvest:

  • Unlike onions, leeks should be harvested before bulbs form and before the foliage dies back.

  • Harvest when the white of the stalk is at least 3” tall and 3/4” across.

  • Harvest by gently twisting and pulling the leek and it’s roots out of the ground.

  • If the soil is tough, use a hand-spade or digging fork to carefully loosen the soil around the leek by placing the spade/fork into the ground about 6 inches away from the plant and pulling it towards you. Do not try to dig the leek out as you risk cutting into it.

End of the harvest:

Once a leek has been harvested it will not grow back. If left in the ground too long, the leek will bolt (flower), the stalk will get woody, and then the leaves will die back.

Storage and handling:

  • Brush off soil, but do not trim or wash the leek until you are ready to use it.

  • Leeks like high humidity, so store in a sealed plastic bag, Tupperware, or plastic wrap in the crisper drawer of your fridge.

  • Leeks can be stored for up to two weeks.

Recipe ideas:

  • Leeks are most often used in soups, stews, and broths. Slice them once longways and then slice into 1/4” medallions. In a stock pot or dutch oven over medium-high heat, add a tbsp of butter, olive oil, or other fat of choice. Once hot, add leeks (they should sizzle when they touch the pan) allow to brown slightly for a minute before stirring. Continue with the rest of your soup recipe in that same pot. The leeks will give you a sweet, tangy, and delicious base flavor!

  • If you want to appreciate the flavor of leeks on their own, try a simple buttered leek recipe.

  • Leeks can also be added to other dishes, like a hearty cabbage in cream sauce (the perfect winter side dish) or as a compliment to a classic chicken breast.

Onions

Harvest:

  • Harvest when stalks begin to turn brown and die back. Usually, the shoulders of the onion bulb will pop out of the soil and give you an idea of their size and maturity.

  • Grip greens right above bulb and pull. If soil is tough, use a hand-spade or digging fork to loosen the soil around the bulb. Stick the spade into the ground 6 inches away and then pull the handle towards you. Don’t try to dig the bulb out as you will likely cut into it.

End of the harvest:

Once onions have been harvested, it will not grow back. If left in the ground too long, they will bolt (flower) and get tough.

Storage and handling:

  • Brush off soil, do not wash and do not remove stalk or paper until you are ready to use.

  • For short term storage, place onions in a dry place at room temperature.

  • For long term storage, onion must be “cured.” Lay or hang the onions out in a warm, well-ventilated place away from direct sunlight for at least 2 weeks or until the outer skins have become dry and papery. Trim back the tops and check to see if there is any green - if so, continue to dry.

  • Store cured onions in a dark, cool, and well ventilated place. Storage times will differ with variety, but some onions can store for up to 6 months. 

Recipe ideas:

  • Sautéed onions make up the base of so many delicious meals, but they can also add a kick of their own when caramelized, pickles, or plain ole’ raw. Don’t believe onions are special in their own right? Check out all these ideas.