Growing Kale Through the Winter

Our gardens may seem to be sleeping for the winter but hardy kales have been flourishing in the protection of our cold frame.

Installing a cold frame in your garden is the perfect way to extend your season and harvest fresh, healthy greens year round.

However, we do recognize that eating the same kale salad or stir fry can get old. Read to the end for a way to mix things up, courtesy of Deanna, creator of an incredible urban homesteading blog called Homestead and Chill.

Deanna may be in sunny California (actually her microclimate is very foggy, but she rarely has to deal with freezing temps!) but her garden can serve as inspiration to us all.

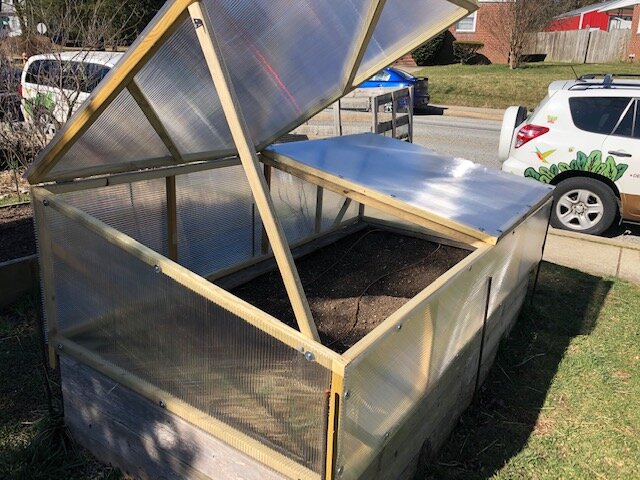
One of Edible Eden’s custom-built coldframes.

One of Edible Eden’s custom-built coldframes.

The Homestead and Chill front garden. Check out Deanna’s work on Instagram at @deannacat3 and her blog at homesteadandchill.com .

The Homestead and Chill front garden. Check out Deanna’s work on Instagram at @deannacat3 and her blog at homesteadandchill.com .

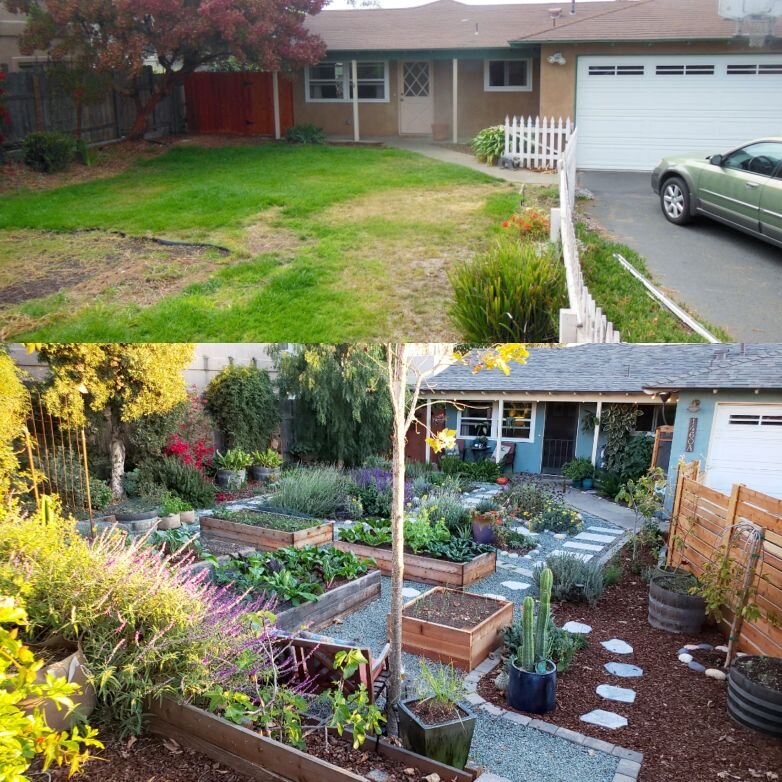
Check out this before and after photo of her front yard and click the image to see more - you’re definitely going to want to check out her full scope of raised beds, fruit trees, and pollinator gardens!

Go for the inspiring photos, but stick around for the recipes, gardening tips, and useful product recommendations.

Speaking of sticking around, thank you for sticking with me through that digression. Back to kale.

Kale is hardy down to temps of 20°F and even tastes sweeter after a frost; that’s thanks to the plant producing sucrose to act as a natural protective antifreeze.

Despite their frost tolerance, kale needs an extra boost of protection to succeed through our winters.

Our temps here in Baltimore usually do drop below 20°F at some point during the winter, although our recent winters have been fairly mild. A cold frame is an extra layer of protection to keep your plants alive during a deep freeze, but it also serves as more than just an insurance policy for the coldest of days.

Kale prefer to grow at temperatures between 50-70°F. In lower temperatures, they go dormant and wait for better conditions to grow. A cold frame can raise temperatures by about 10°F, keeping your kale growing longer in Fall and waking up more quickly in late Winter or Spring!

Your kale will likely still go through a dormancy in the dead of winter, but extending their growth through late Fall/early Winter will allow your plants to grow full enough that you can continue harvesting the existing large leaves until the plants wake up again soon in Late Winter or Early Spring.

Deanna’s recipe below is the perfect (and most delicious) use for mature tougher leaves.

One of Edible Eden’s custom-built coldframes.

One of Edible Eden’s custom-built coldframes.

Homemade Seasoned Crispy Kale Chips Recipe by Deanna of Homestead and Chill

You’re going to want to check out the full instructions on her blog through the link above for full instructions on how to use your food dehydrator or oven, but here is the ingredient list to get you started:

  • 1 large bunch of kale, or about a dozen large leaves

  • 1/2 to 1 full tablespoon of extra virgin olive oil for drizzling

  • Sea salt or your favorite seasoned salt, to your own taste

  • Deanna uses a number of different seasons to keep things interesting, including garlic powder, onion powder, curry or turmeric powder, black pepper, cumin, lemon powder, chili powder, everything-but-the-bagel seasoning, and nutritional yeast for a splash of umami flavor.

  • A strainer and mixing bowl, or a salad spinner

  • A food dehydrator, or oven and baking sheet

Deanna’s photo of her Homemade Crispy Kale Chips.

Deanna’s photo of her Homemade Crispy Kale Chips.

"Big Flavor Broccoli"

Broccoli is sizing up here in Maryland and we are anticipating the big day when we get to harvest our broccoli heads! As we’ve been waiting, we’ve been searching for recipes for the big day and this recipe from Bon Appetit looks simple and delicious - what could be better?

INGREDIENTS

  • 1 lb. broccoli (about 1 large or 2 medium heads)

  • 5 Tbsp. extra-virgin olive oil, divided

  • Kosher salt

  • 1 small red onion, cut lengthwise into ½"-thick slices

  • 4 garlic cloves, sliced

  • 6 oil-packed anchovy fillets

  • 1 oz. Parmesan, finely grated (about ¼ cup)

  • Lemon wedges (for serving)

RECIPE PREPARATION

  • Preheat oven to 400°. Trim only the very bottom, woody part of broccoli stem. Peel tough outer layer from stem, from the florets down to the end of the stalk. Starting from stem end, cut broccoli at a 45° angle into ¾"-thick slices until you reach the florets. Break florets apart with your hands into bite-size pieces (this avoids getting bitsy trimmings all over the place).

  • Heat 3 Tbsp. oil in a large heatproof skillet over medium-high until shimmering. Add broccoli; season with salt. Cook, tossing occasionally, until broccoli is bright green and lightly charred, about 3 minutes. Transfer to a plate. Wipe out skillet.

  • Heat remaining 2 Tbsp. oil in same skillet over medium. Cook onion and garlic, stirring often, until onion is beginning to soften, about 3 minutes. Add anchovies and cook, breaking apart with a spoon, until broken down and garlic is beginning to turn golden around the edges, about 2 minutes.

  • Return broccoli to skillet and toss to coat with oil. Transfer to oven and roast, tossing once, until broccoli is browned and tender, 20–25 minutes. Wrap handle of skillet with a towel before you forget it’s REALLY HOT.

  • Scatter Parmesan over hot broccoli. Divide among plates. Serve with lemon wedges alongside.

 
20190612_113018+%281%29.jpg
 

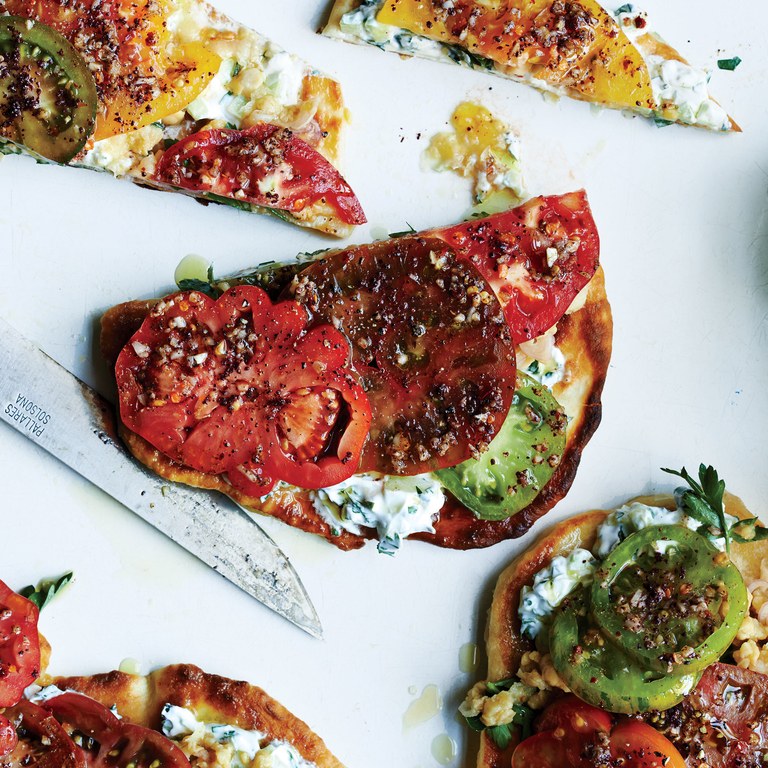
Seasonal Recipe: Falafel Spice Tomato Flatbread

As a final goodbye to vibrant Summer produce, we’re savoring this flavorful and seasonal flatbread from Bon Appetit. Do justice by those final ripe tomatoes, the last of your crisp cucumbers, and that medley of aromatic garden herbs one last time before next Summer. 

INGREDIENTS

  • Flat bread, naan, or pocketless pitas (original recipe includes instructions, but you can use store bought, too!)

Tomatoes and Chickpeas

  • 2 garlic cloves, finely chopped

  • 1 teaspoon sumac (if unavailable, you can substitute lemon zest)

  • ½ teaspoon each of crushed red pepper flakes, ground coriander, and ground cumin

  • 1 teaspoon kosher salt

  • 2 large heirloom tomatoes, any color, thinly sliced

  • 1 15.5-ounce can chickpeas, rinsed

  • 2 tablespoons red wine vinegar

  • 1 small shallot, thinly sliced

  • ½ cup parsley leaves

  • 3 tablespoons olive oil

Yogurt Sauce

  • 1 Persian cucumber, peeled, chopped

  • ¾ cup plain yogurt

  • ½ cup each of coarsely chopped fresh mint and parsley

  • Hot sauce

RECIPE PREPARATION

Tomatoes and Chickpeas

  • Combine garlic, sumac, red pepper flakes, coriander, cumin, and 1 tsp. salt in a small bowl. Arrange tomato slices in a single layer on a rimmed baking sheet and sprinkle garlic mixture evenly over top. Let sit at room temperature at least 30 minutes and up to 1 hour.

  • Toss chickpeas and vinegar in a medium bowl; season with salt and pepper. Mash chickpeas with a fork until about half are smashed. Add shallot, parsley, and oil and toss to combine; season with salt and pepper. Set aside.

Yogurt Sauce

  • Combine cucumber, yogurt, mint, and parsley in a medium bowl; season with hot sauce, salt, and pepper. Let sit at room temperature at least 15 minutes.

Assemble

  • Top each flatbread with yogurt sauce, chickpea mixture, and tomatoes. Drizzle with more oil and season well with salt and pepper.


Chickweed Pesto

 
20190415_175554+%281%29.jpg

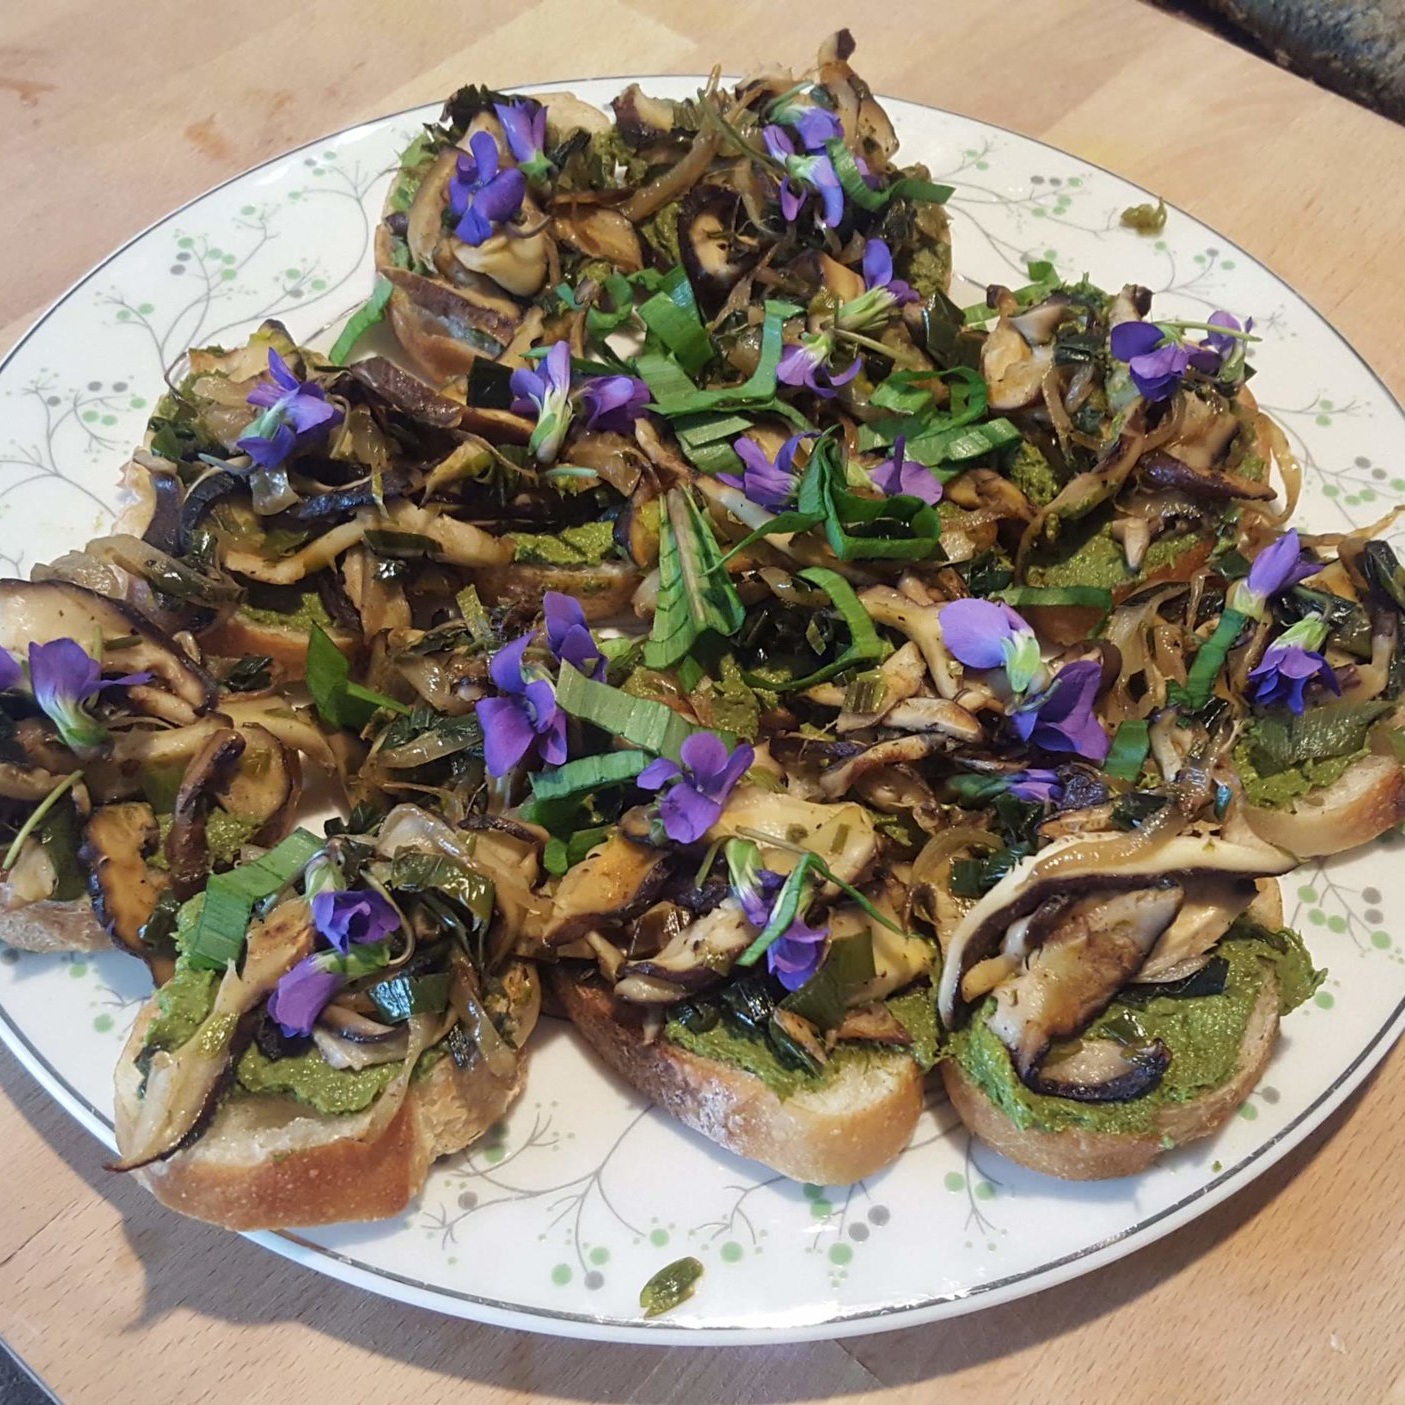
Last month, our team celebrated the Spring season by getting out of the garden and learning about edible wild plants! Our operations manager, Brody, invited us to visit his property and learn about the abundance of food growing there (both cultivated and wild). Among the “weeds”, we found chickweed, nettles, watercress, garlic-mustard, and violets - all of which are edible and have unique, delicious flavors. We enjoyed the medley of greens sautéed with some of Brody’s home grown Shiitakes and he graciously supplemented the bounty we collected with some chickweed pesto that he had made a few days earlier.

We loved the pesto so much that we thought we’d share it here - so go grab a few handfuls of chickweed from the backyard (or woods, or farmers market) and let’s get cooking!

Ingredients

  • 1/2 cup walnuts, cashews, or pine nuts

  • 2-3 cloves garlic minced

  • 3 cups chickweed loosely packed

  • 1 Tbsp lemon juice

  • 1/2 cup extra virgin olive oil

  • 1/2 tsp salt

  • 1/4 tsp freshly ground black pepper

  • 1/4 cup freshly grated Parmesan cheese

Instructions

  1. Place all ingredients into a food processor and process until smooth. (A blender can be used instead, but the chickweed should be finely chopped first)

  2. If it's too thick, slowly drizzle in a bit more olive oil.

  3. Keep refrigerated. Eat or freeze within 3-4 days.

This recipe is courtesy of www.growforagecookferment.com